In this solo project, I designed and built Yakker, a minimalist, anonymous microblogging platform focused on creating a low-pressure social space. Through exploring the challenges of authentication, API development, and front-end state management, I crafted a clean, distraction-free feed where users can share short posts and follow others without the pressure of personal branding or identity. The project emphasized simplicity and content-driven interaction, removing common social media barriers like email verification and profile requirements.
UX Designer, Full Stack Developer
React, Django REST, HTML, CSS, JavaScript, Python, Axios, Whimsical
4 Weeks
User Stories, Wireframes, Style Guide, Development, Reflections
In an increasingly loud and identity-driven digital world, many users crave a space to share thoughts without the pressure of building their personal branding. While major platforms like Twitter offer real-time interaction, they often come with complex algorithms, content visibility issues, and identity-driven engagement. I wanted to explore what it would look like to build a stripped-back, community-focused social media platform, one where users could post freely, follow others, and engage without the social pressure of being "seen." Yakker was born out of a personal challenge: could I design and build a working social platform from scratch, with a focus on anonymity and simplicity?
Problem 1: Social Pressure from Online Identity
Most social platforms tie expression to personal identity, which can limit authenticity and create performance anxiety.
Problem 2: Algorithm-Driven Engagement
Users struggle to have their content seen due to complex algorithms prioritizing popularity over genuine conversation.
Problem 3: Cluttered, High-Stimulation Interfaces
Modern social apps bombard users with notifications, ads, and visuals, distracting from the content itself.
Yakker is a Twitter-style microblogging platform built using React on the front end and Django REST Framework on the back end. It allows users to sign up, follow others, and share short posts in a clean, anonymous feed. The design is intentionally minimal to prioritize content over identity. There are no email verifications or required personal details. Just text-based interactions that emphasize conversation. Building Yakker helped me dive deep into authentication, API development, and front-end state management, while also exploring the UX implications of designing for low-pressure social interaction.
Solution 1: Built for Anonymity and Simplicity
Yakker removes common identity-based barriers like email verification or profile creation, allowing users to engage without pressure.
Solution 2: Minimal UI, Maximum Focus
A clean, distraction-free interface keeps the focus on the content.
Solution 3: Full-Stack Functionality
Built with React and Django REST Framework, Yakker supports secure sign-up, following users, and posting, all powered by a custom API.
As a solo designer and developer for this project, I began by defining clear goals for Yakker: to create a lightweight, anonymous social media platform inspired by Twitter, but without the pressure of personal branding. I conducted a competitive audit of popular platforms, documenting early assumptions and identifying critical research questions to guide the build.
I identified my target users as people who actively use social media platforms but are highly protective of their personal data and privacy. These include students, professionals, and casual users who seek a space to express themselves freely without the pressure of revealing their identity or sharing sensitive information.
I examined onboarding and interaction patterns across platforms like Twitter, Facebook, and Reddit, and found that lengthy sign-up flows often lead to user drop-off. Privacy-conscious users, in particular, experience added friction when asked to provide personal details like email addresses. Yakker addresses this by minimizing barriers, allowing users to post immediately after sign-up without requiring email verification.
For the user stories, I have split them up on various user action categories: Authentication, Posts, Comments, Navigation, Profile, and General.
| Feature | User Story |
|---|---|
| Log In | Users can log in to post, comment, and manage content. |
| Log Out | Users can log out to keep their account secure. |
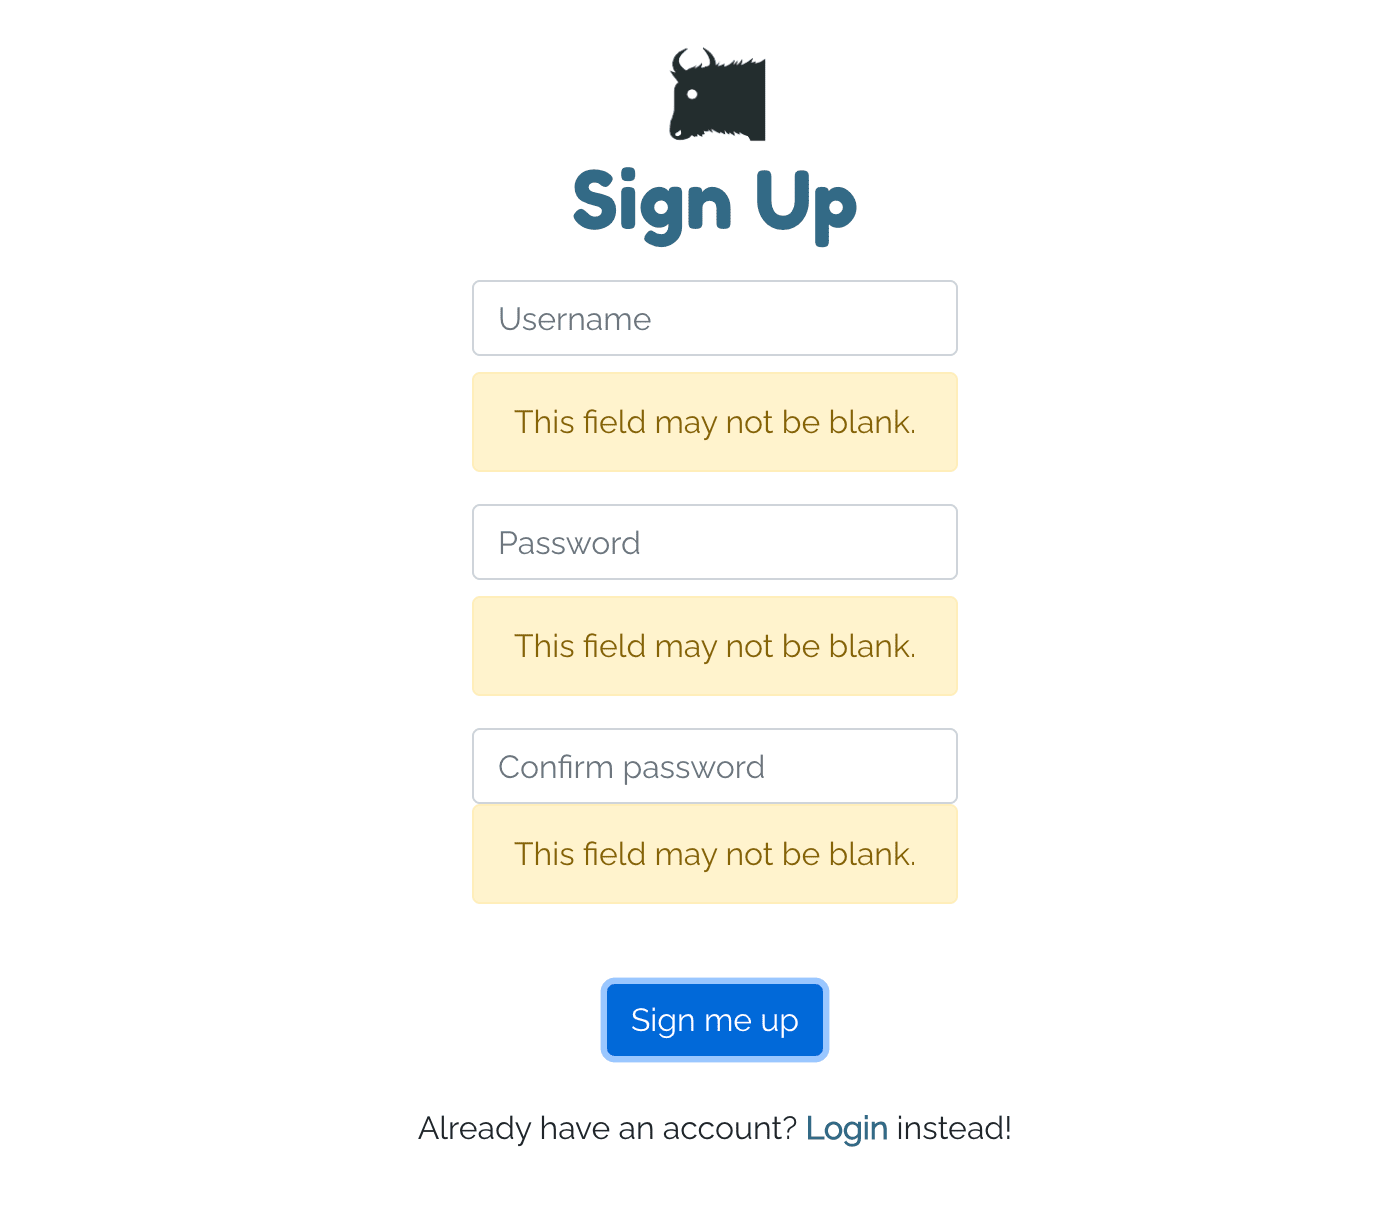
| Sign Up | Users can sign up with just a username and password. |
| Permissions | Users can only edit or delete their own content. |
| Like Rules | Users can only like/unlike others' posts and comments. |
| Follow Rules | Users can follow others but not themselves. |
| Login Status | Users can see if they’re currently logged in. |
| Session Persistence | Users stay logged in until they choose to log out. |
| Feature | User Story |
|---|---|
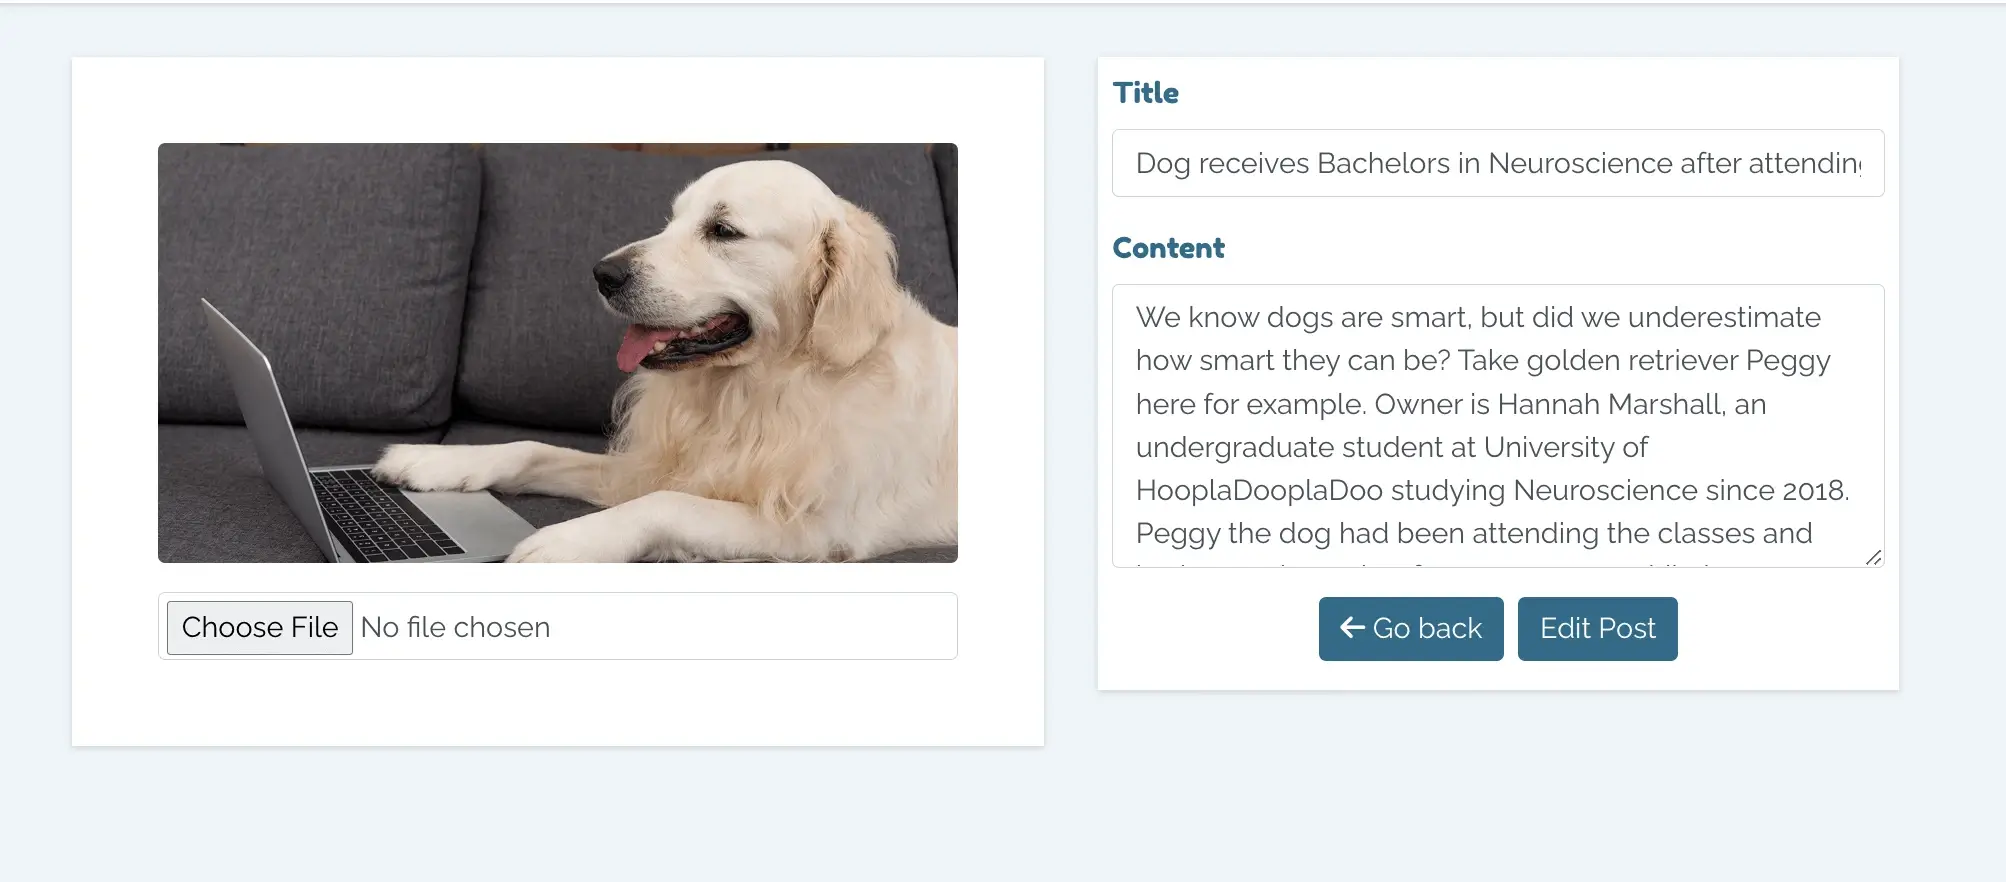
| Create | Users can post to share images, thoughts, or updates. |
| Edit | Users can edit their posts anytime. |
| Delete | Users can delete posts they no longer want. |
| Details | Users can view post details like time, author, and comments. |
| Like | Users can like posts to show support. |
| Unlike | Users can remove likes if they change their mind. |
| Feature | User Story |
|---|---|
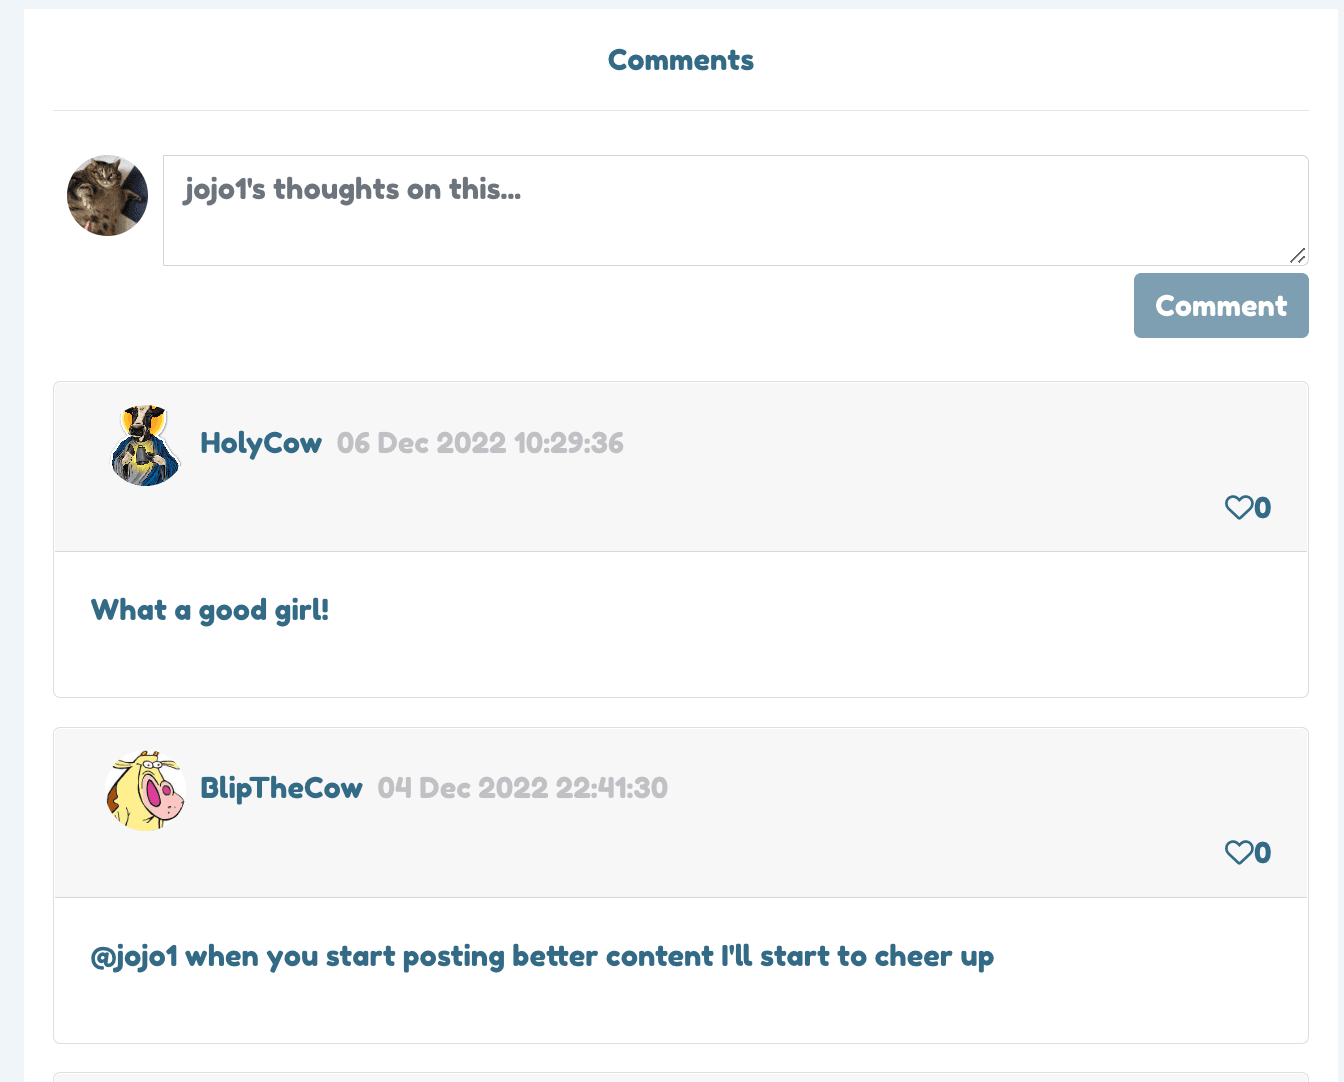
| Create | Users can comment on posts to join the discussion. |
| Delete | Users can delete their own comments. |
| Read | Users can read comments to see others’ thoughts. |
| Edit | Users can edit their comments later. |
| Like | Users can like comments to show appreciation. |
| Unlike | Users can unlike comments if they change their mind. |
| Feature | User Story |
|---|---|
| Nav Bar | Users see a nav bar on every page for easy navigation. |
| Page Speed | Users can navigate pages quickly without full reloads. |
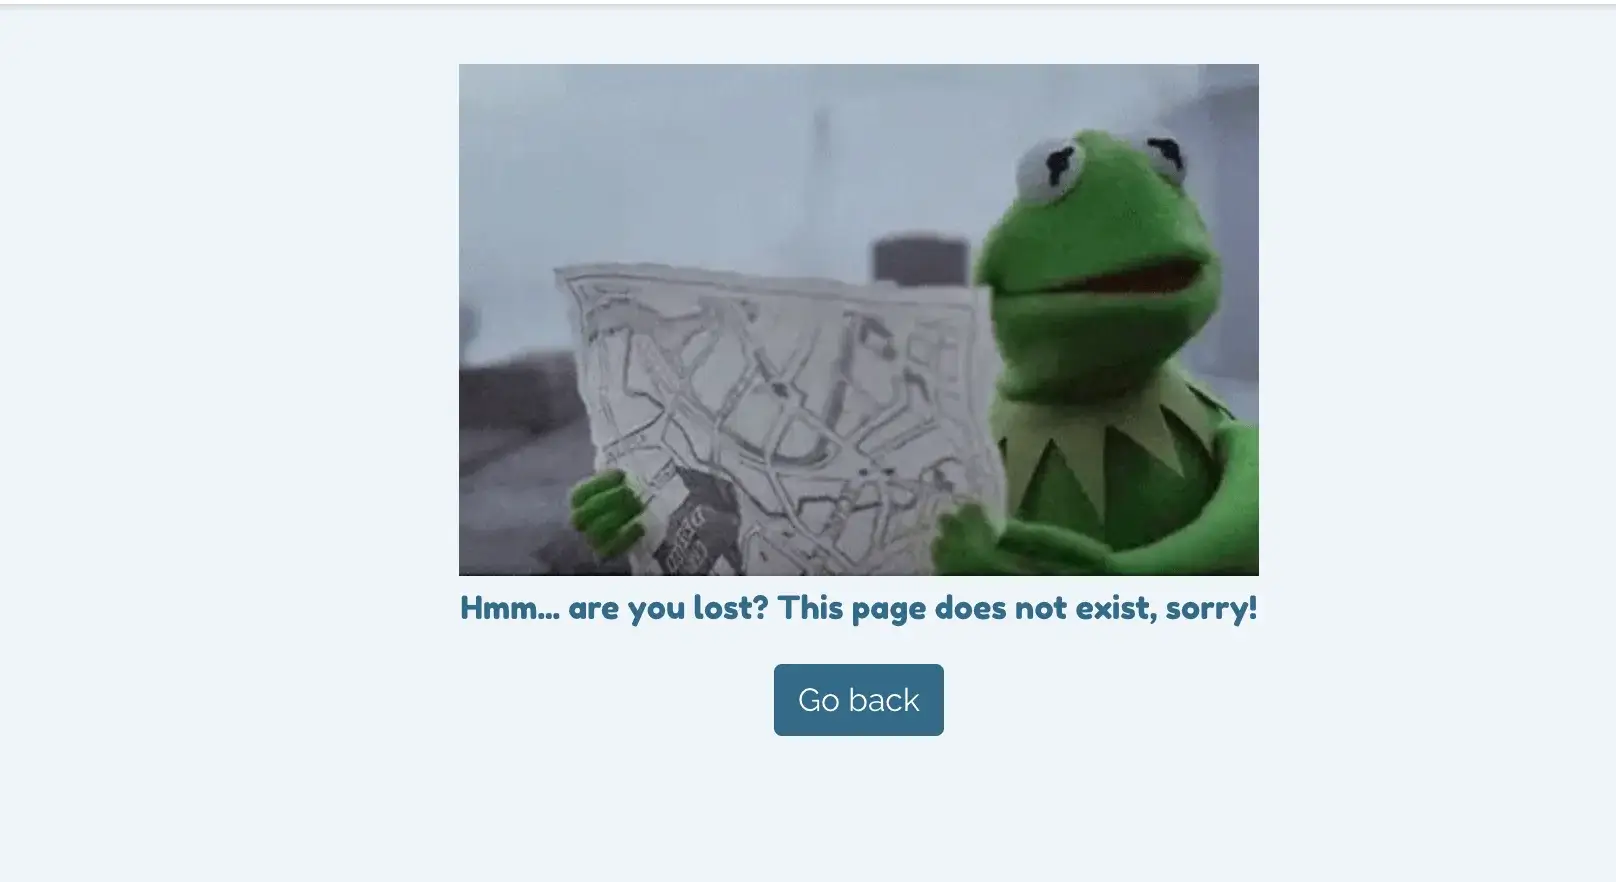
| 404 Page | Users see a styled 404 page for invalid URLs. |
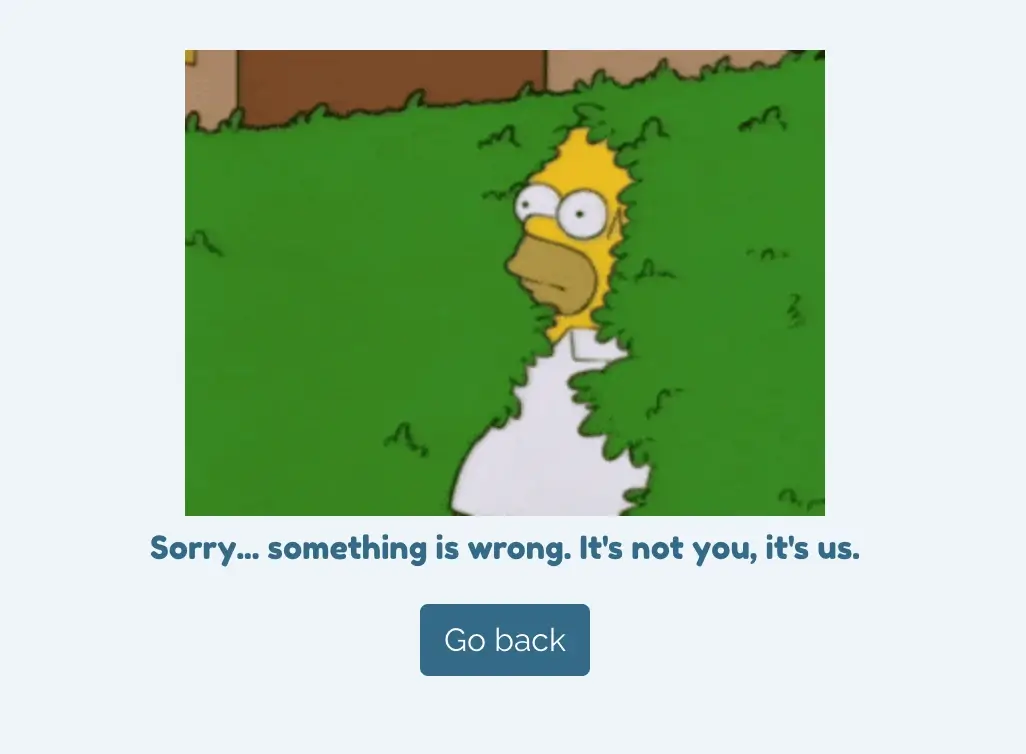
| 500 Page | Users see a consistent 500 error page for server issues. |
| Inf. Scroll | Users can scroll to load more posts/comments without clicking links. |
| Conditional Nav | Users see relevant nav links based on login status. |
| Feature | User Story |
|---|---|
| Avatars | As a user I can view user avatars to visually identify them. |
| User Profiles | As a user I can view detailed pages for users showing their posts and stats. |
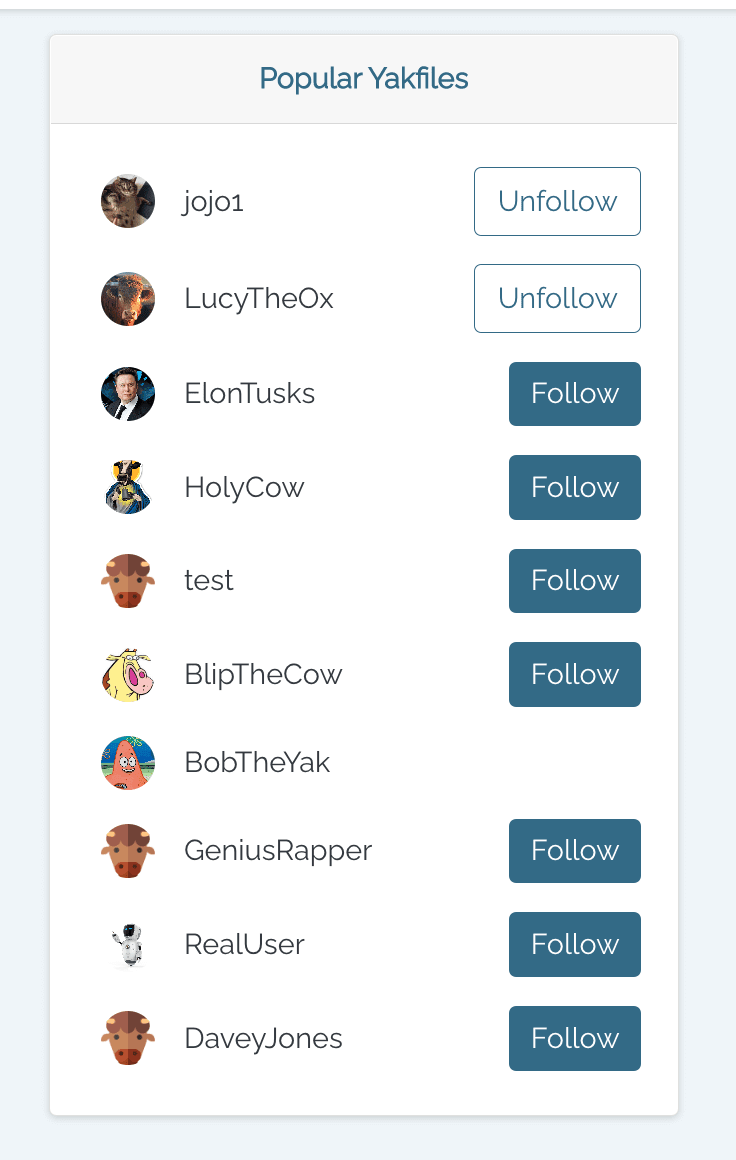
| Follow/Unfollow | As a user I can follow or unfollow users to customize my feed. |
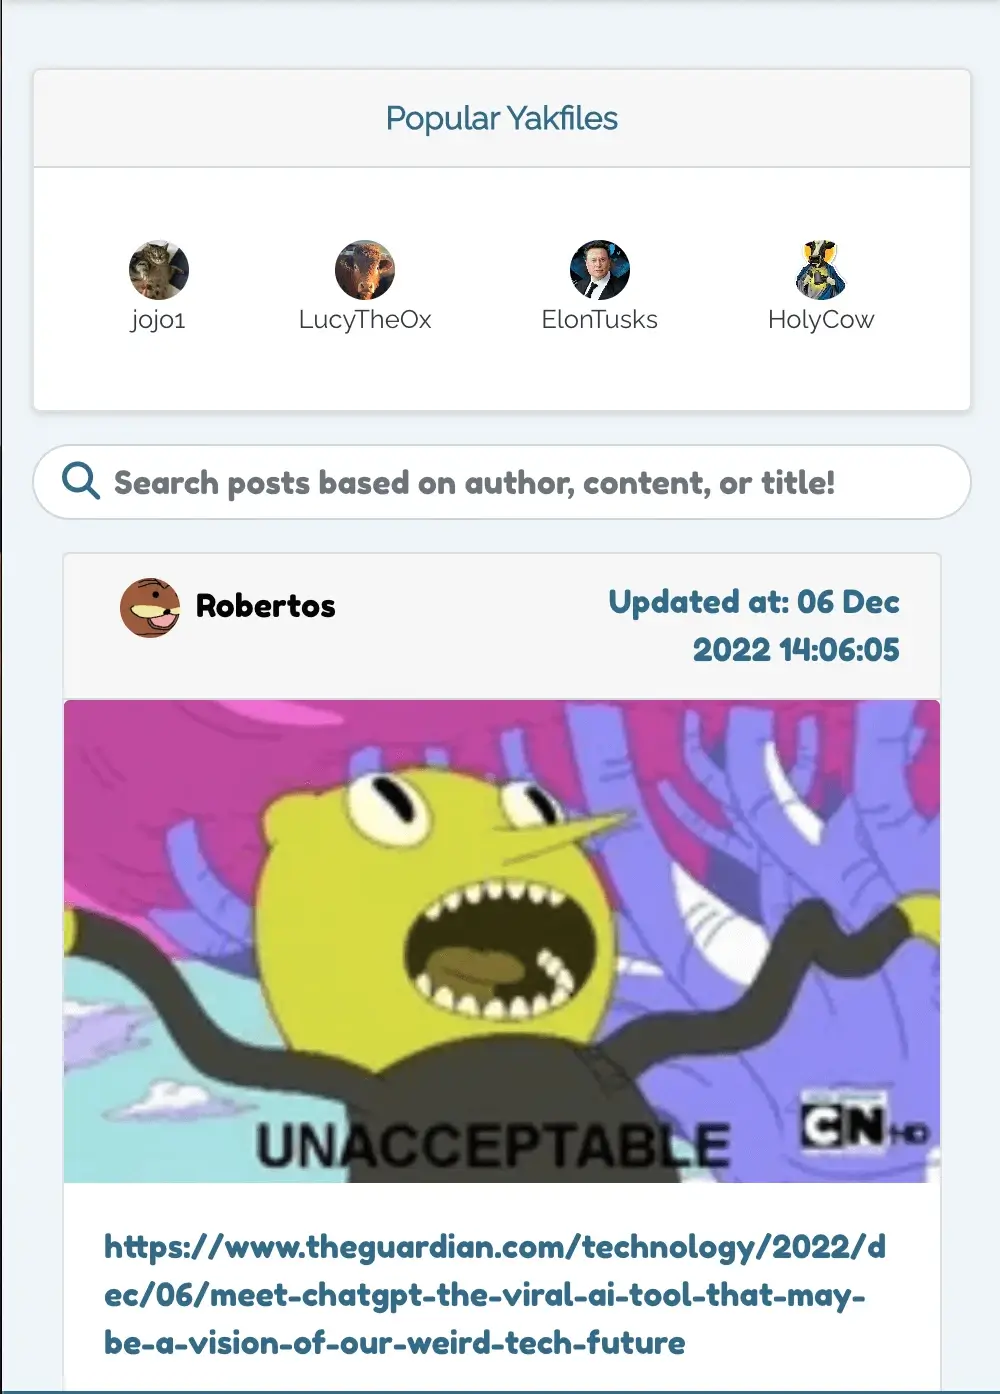
| Popular Users | As a user I can see the most followed profiles to find trending accounts. |
| Feature | User Story |
|---|---|
| Search | As a user I can search for posts or users to quickly find what I'm looking for. |
| About Page | As a user I can easily find the 'About' link in the nav to learn about the platform’s purpose. |
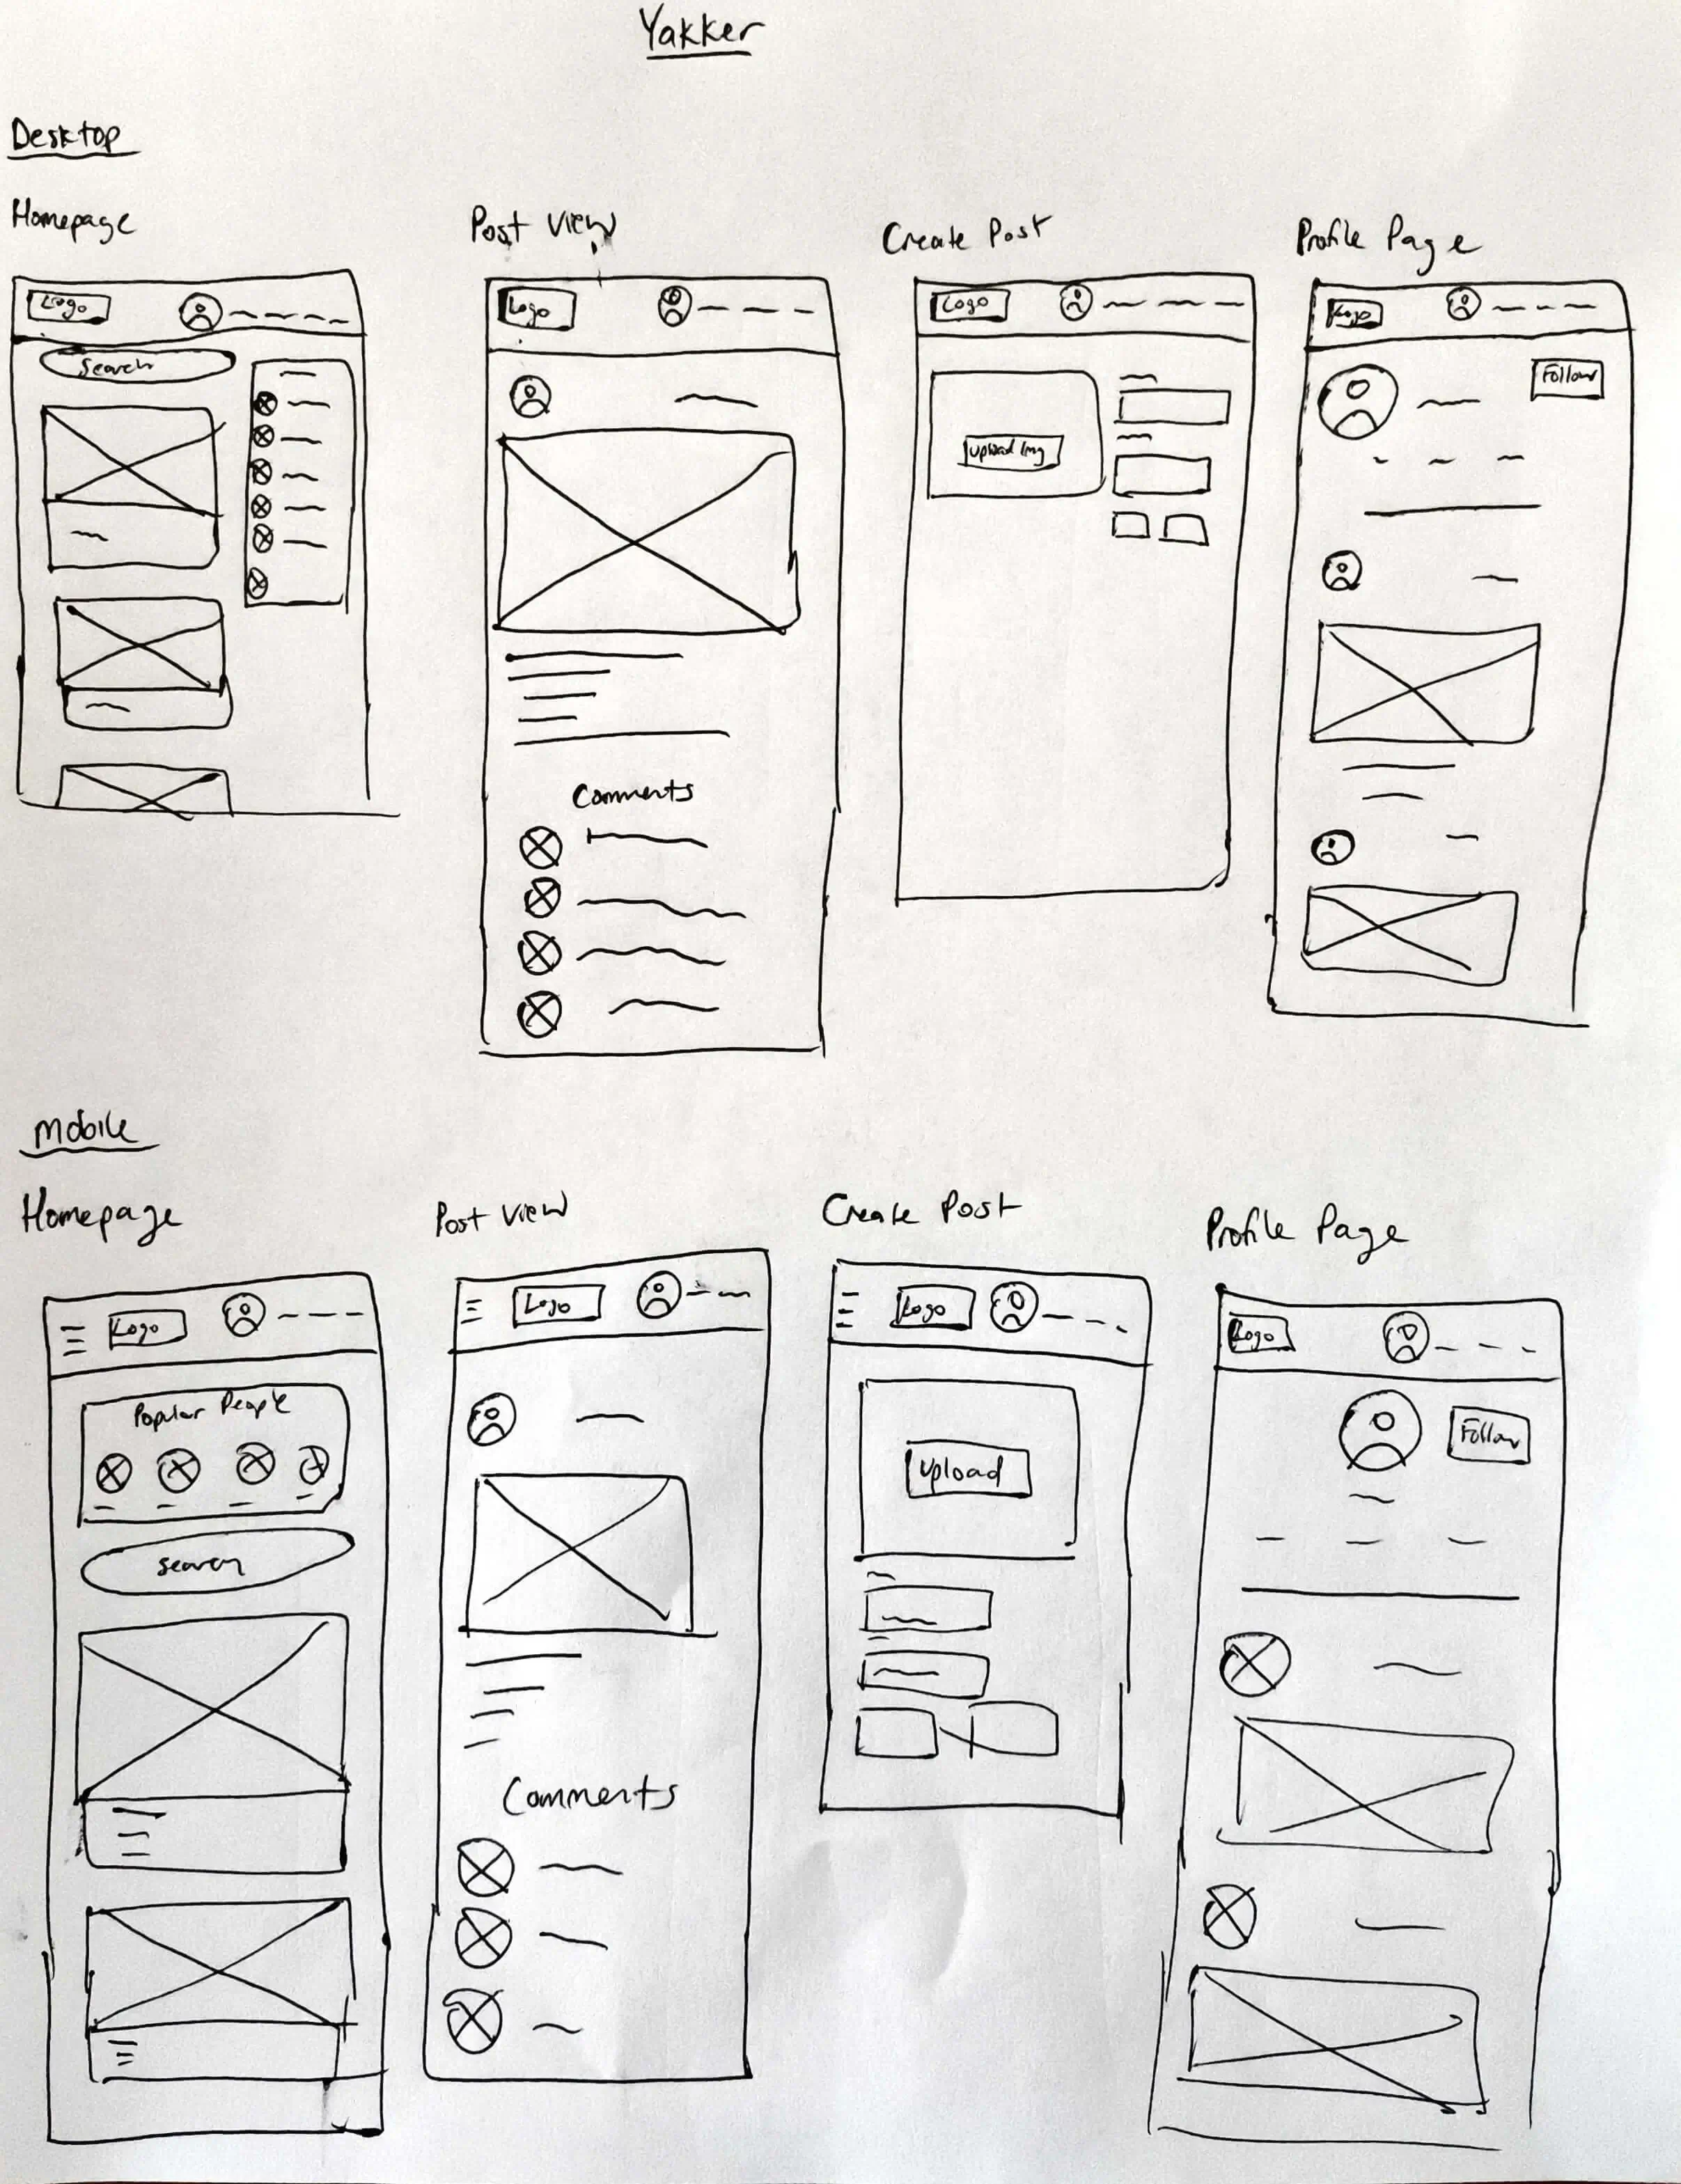
In the early stages of the design process, I adopted a mobile-first approach by sketching out key screens on paper. This allowed me to quickly visualize core user flows and focus on content hierarchy, clarity, and essential interactions. After solidifying the basic structure, I translated these sketches into digital low-fidelity wireframes using Whimsical. These wireframes helped define layout and user flow while keeping the visuals intentionally minimal. Since the primary goal of this project was to deepen my development skills, I chose to move directly into development after the low-fidelity stage. I used the wireframes as a functional blueprint to guide the front-end build and ensure that the app’s key features, posting, following users, and engaging anonymously, were implemented with a clear and consistent structure. While I didn’t create high-fidelity mockups, I continuously refined UI components during development to balance usability with simplicity.
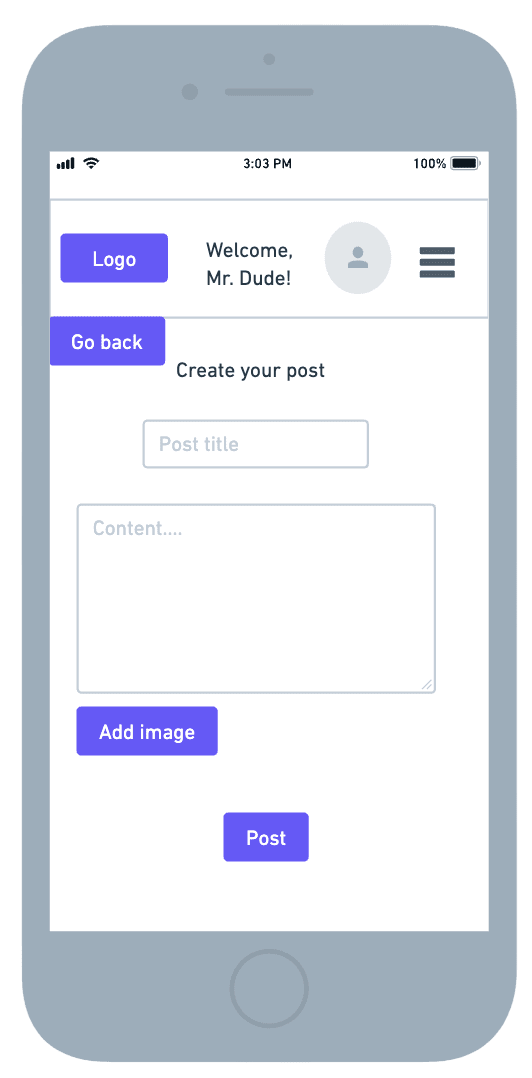
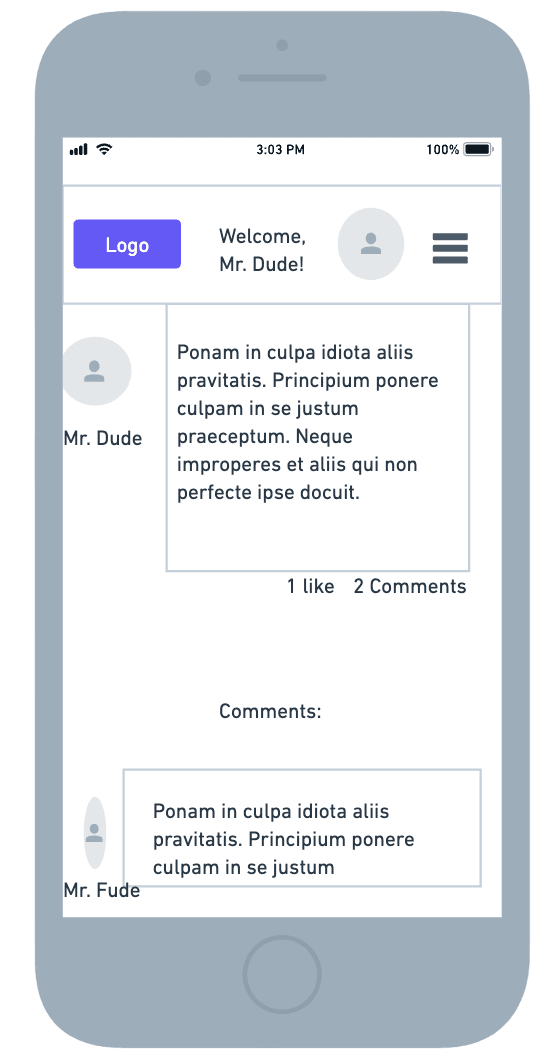
I began with hand-drawn wireframes to quickly explore layout and flow options without committing to visuals. This helped me rapidly ideate and sketch out key screens such as the homepage, user feed, and post interaction views.
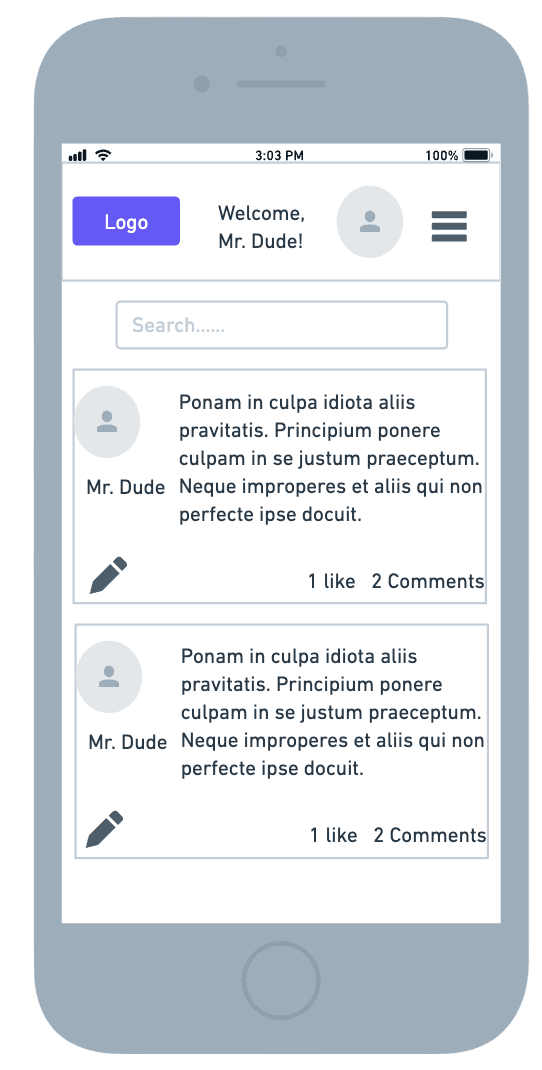
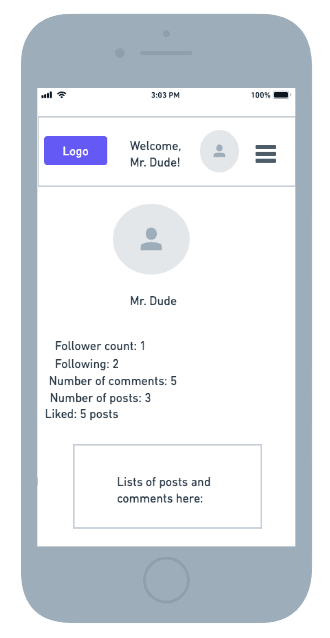
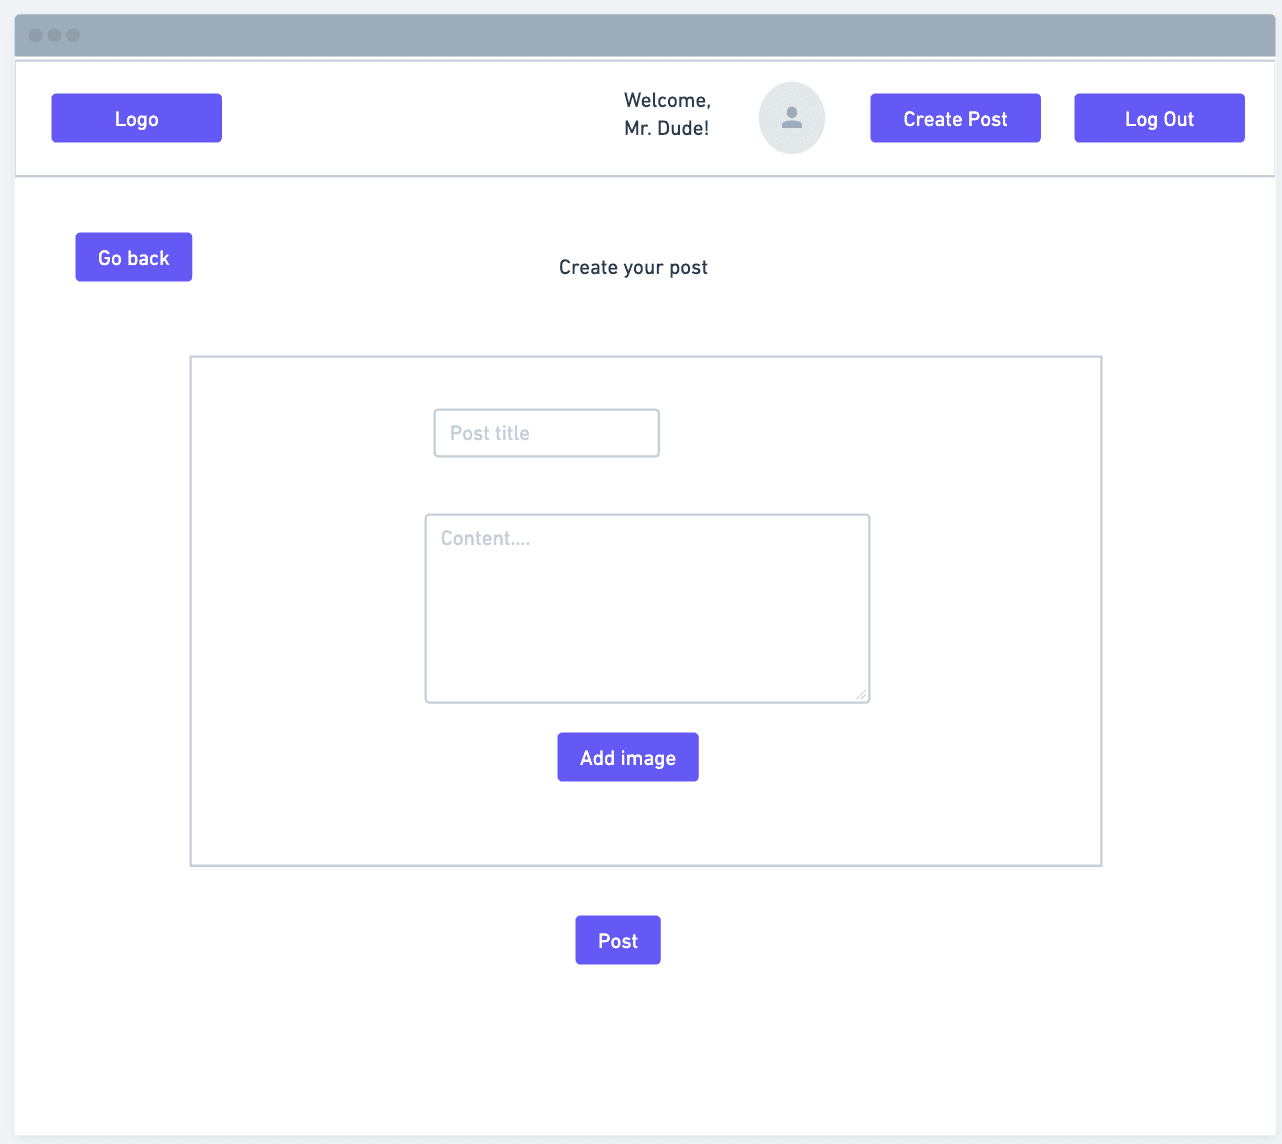
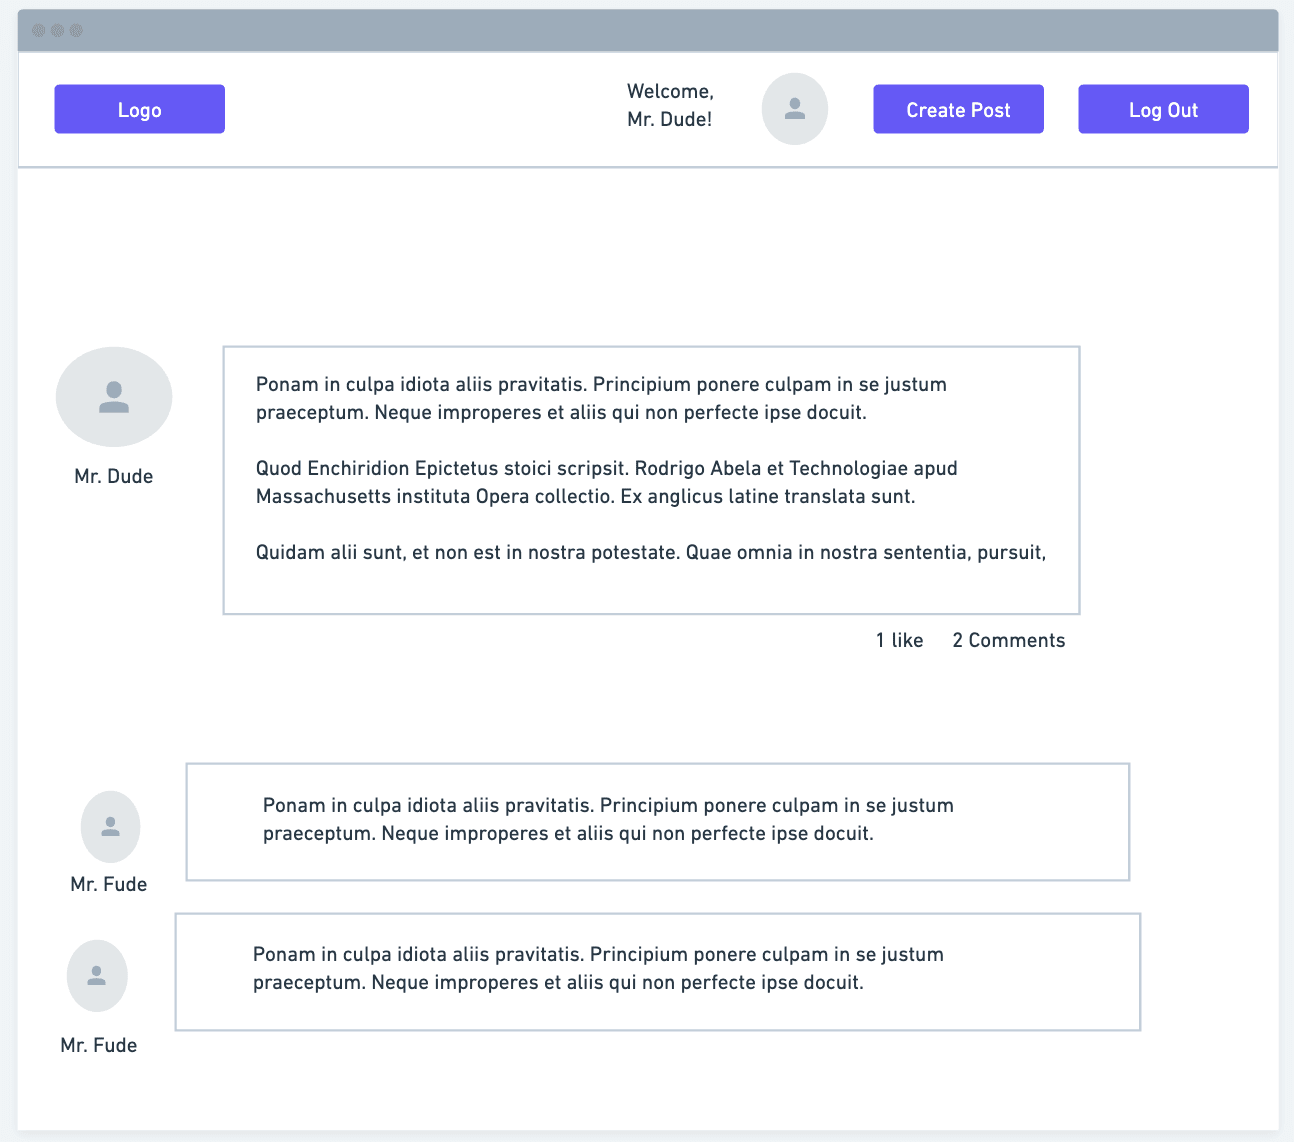
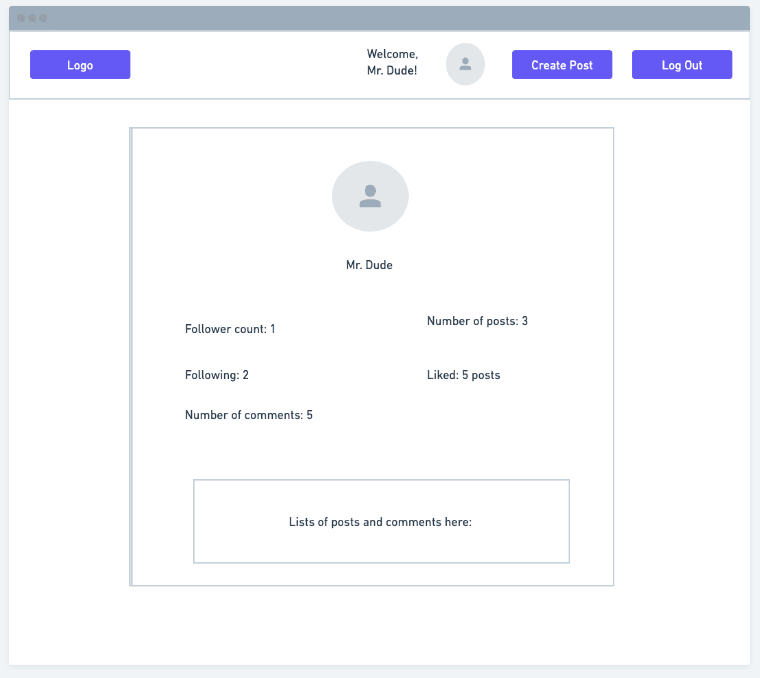
After validating core flows, I moved into digital low-fidelity wireframes using Whimsical. I quickly visualized the layout of the social feed, creating posts, commenting on other user's posts, and the user's profile page, ensuring all user needs are met.
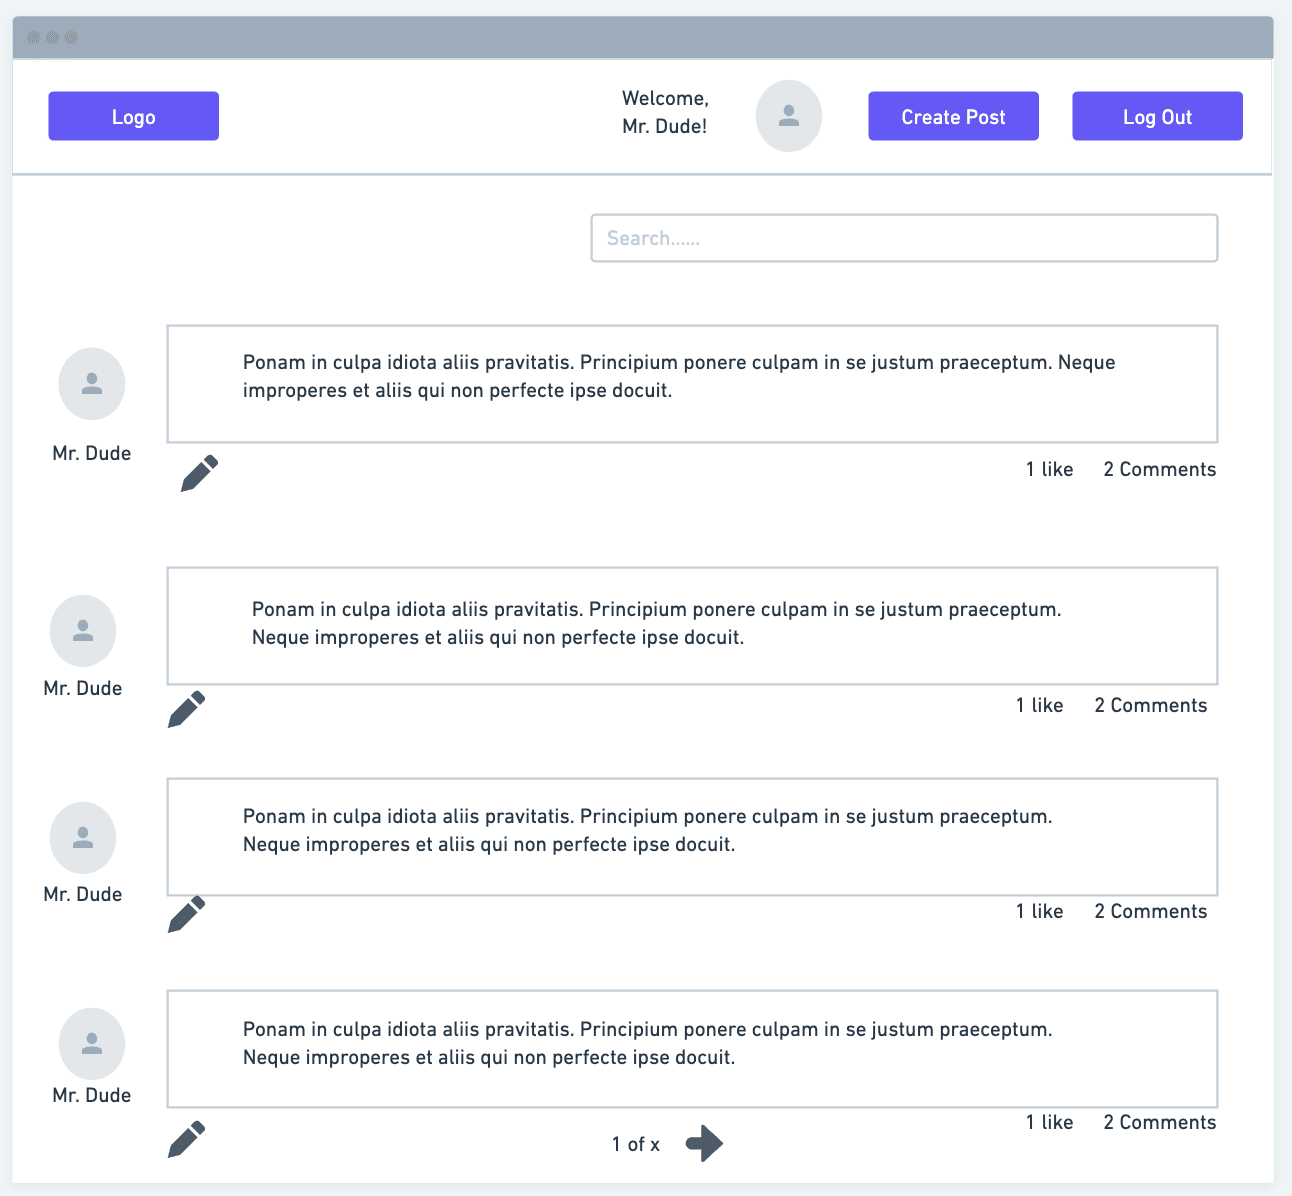
To refine the layout for desktop screens, I transitioned into the digital wireframes for desktop, introducing more accurate sizing and key UI components. This phase focused on improving clarity in post layout, profile summaries, and feed structure.
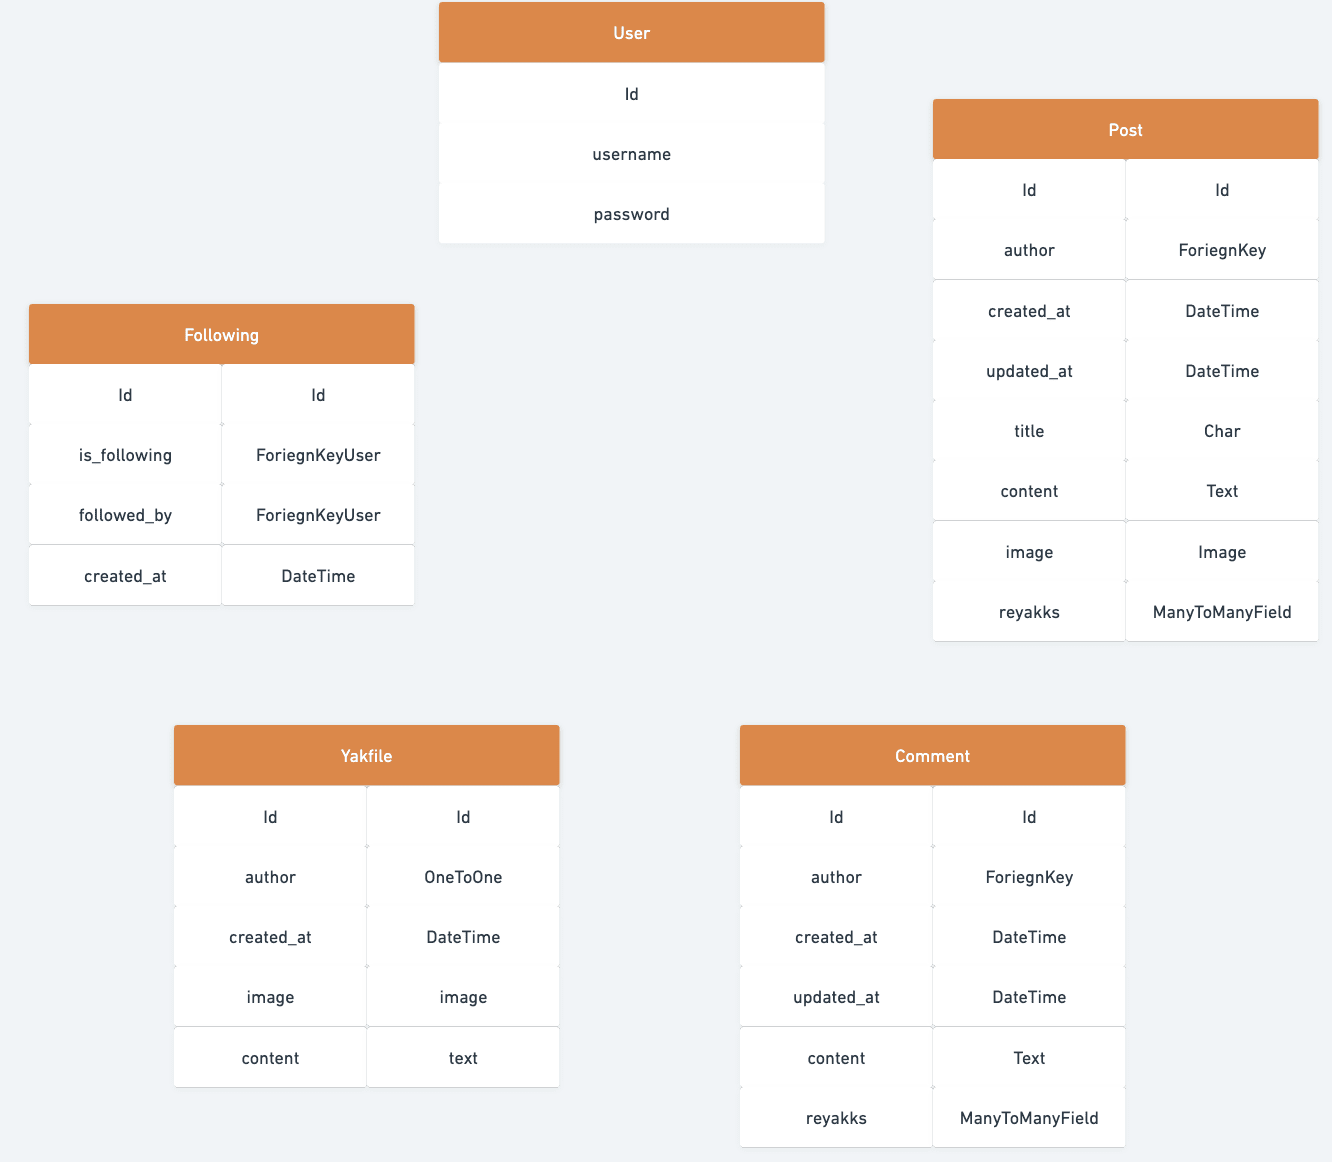
After completing the wireframes, I used Whimsical to create the relational database model, outlining the core entities and their relationships. This step helped me visualize how different pieces of data would interact within the system, ensuring a logical and scalable structure before moving on to development. Mapping the model early on also made it easier to identify potential issues and refine the data flow across the application.
The final database model included five main tables: User, Post, Comment, Yakfile, and Following. Using the digital model, I was able to clearly define the data types and relationships between tables. For example, one-to-many relationships between Users and Posts or Posts and Comments, and many-to-many relationships for reyakks to posts. Each table was mapped out with specific fields such as unique IDs, image uploads, text fields, and foreign keys to ensure proper data linkage. This step provided a clear structural foundation that made implementing the back-end logic more straightforward and efficient.
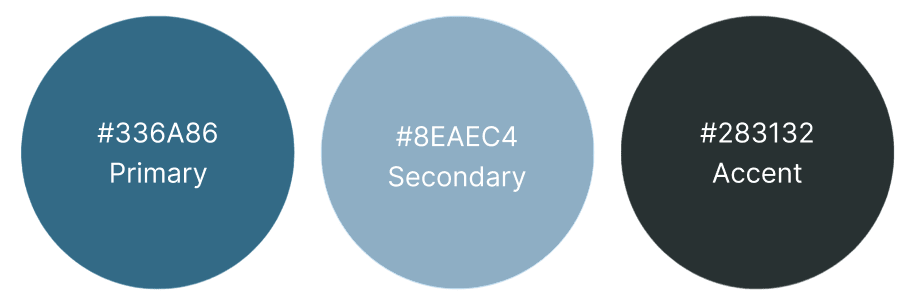
I created the the style guide for Yakker with the goal to create a fun, modern, and readable user experience that reflects the platform’s casual and community-driven vibe. It features two primary fonts sourced from Google Fonts: Fredoka One, a playful and bold cursive used for headers, post titles, and navigation to establish a clear visual hierarchy; and Raleway, a clean and simple sans-serif chosen for body text and longer content to maximize readability.
The logo was created using Logo.com. The goal was to feature a fun, cartoon illustration of a yak to nicely tie the platform name and logo together.
The colour palette, inspired by a scheme developed by Logo.com, strategically uses a primary colour for most text, a secondary colour to highlight interactive elements like links and buttons on hover, and an accent colour to emphasize key details such as usernames and active navigation links. Together, these choices ensure a cohesive and approachable aesthetic that supports Yakker’s goal of fostering open, low-pressure social interaction.
I developed the Django REST API in a separate GitHub repository to keep the back end and front end decoupled and modular. On the front end, I used React with React Router DOM for client-side navigation and React Bootstrap for streamlined UI components. Axios was used to handle all HTTP requests, allowing seamless communication between the front end and the API. This setup enabled efficient state management, component reuse, and faster debugging throughout the build process.
Comprehensive manual testing was performed across key features including navigation flows, user authentication, post creation and editing, commenting, following functionality, infinite scroll behaviour, and responsiveness across device sizes.
Code quality was maintained using ESLint and W3C validation tools, helping ensure consistent styling, accessibility, and performance best practices throughout the project lifecycle.
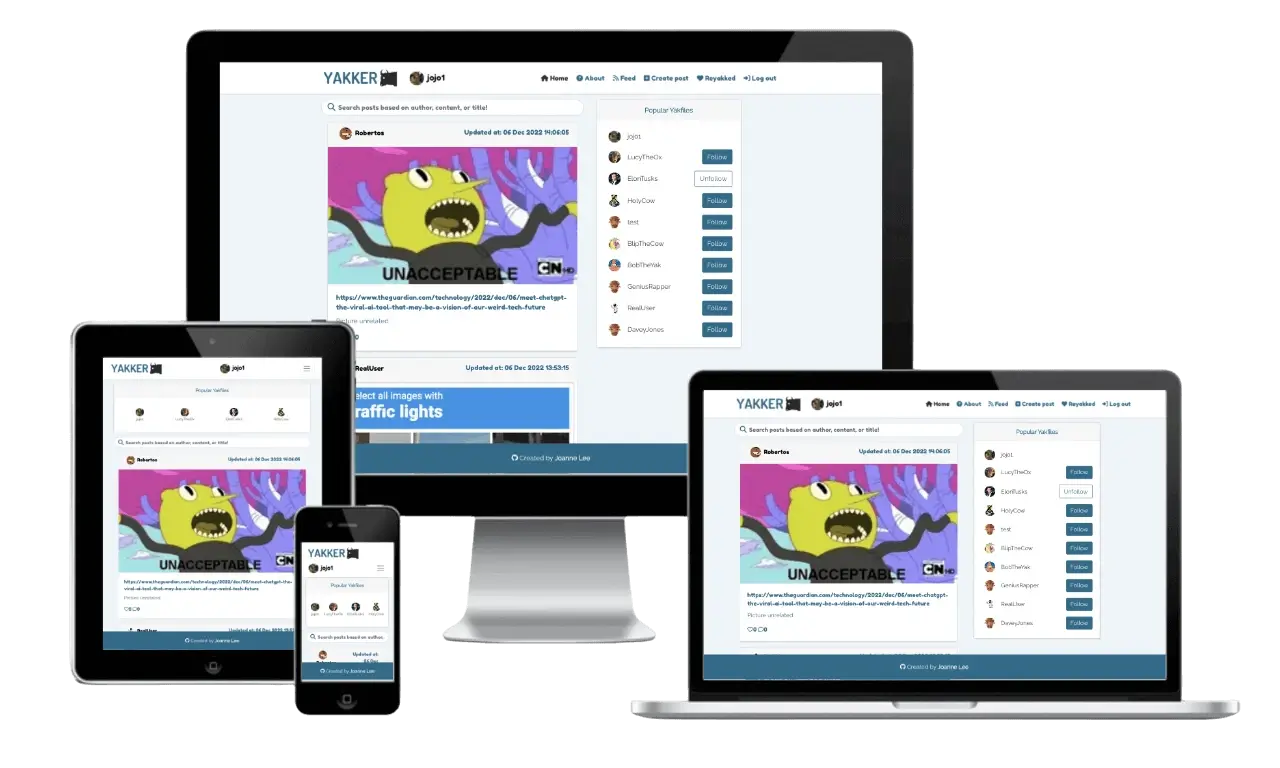
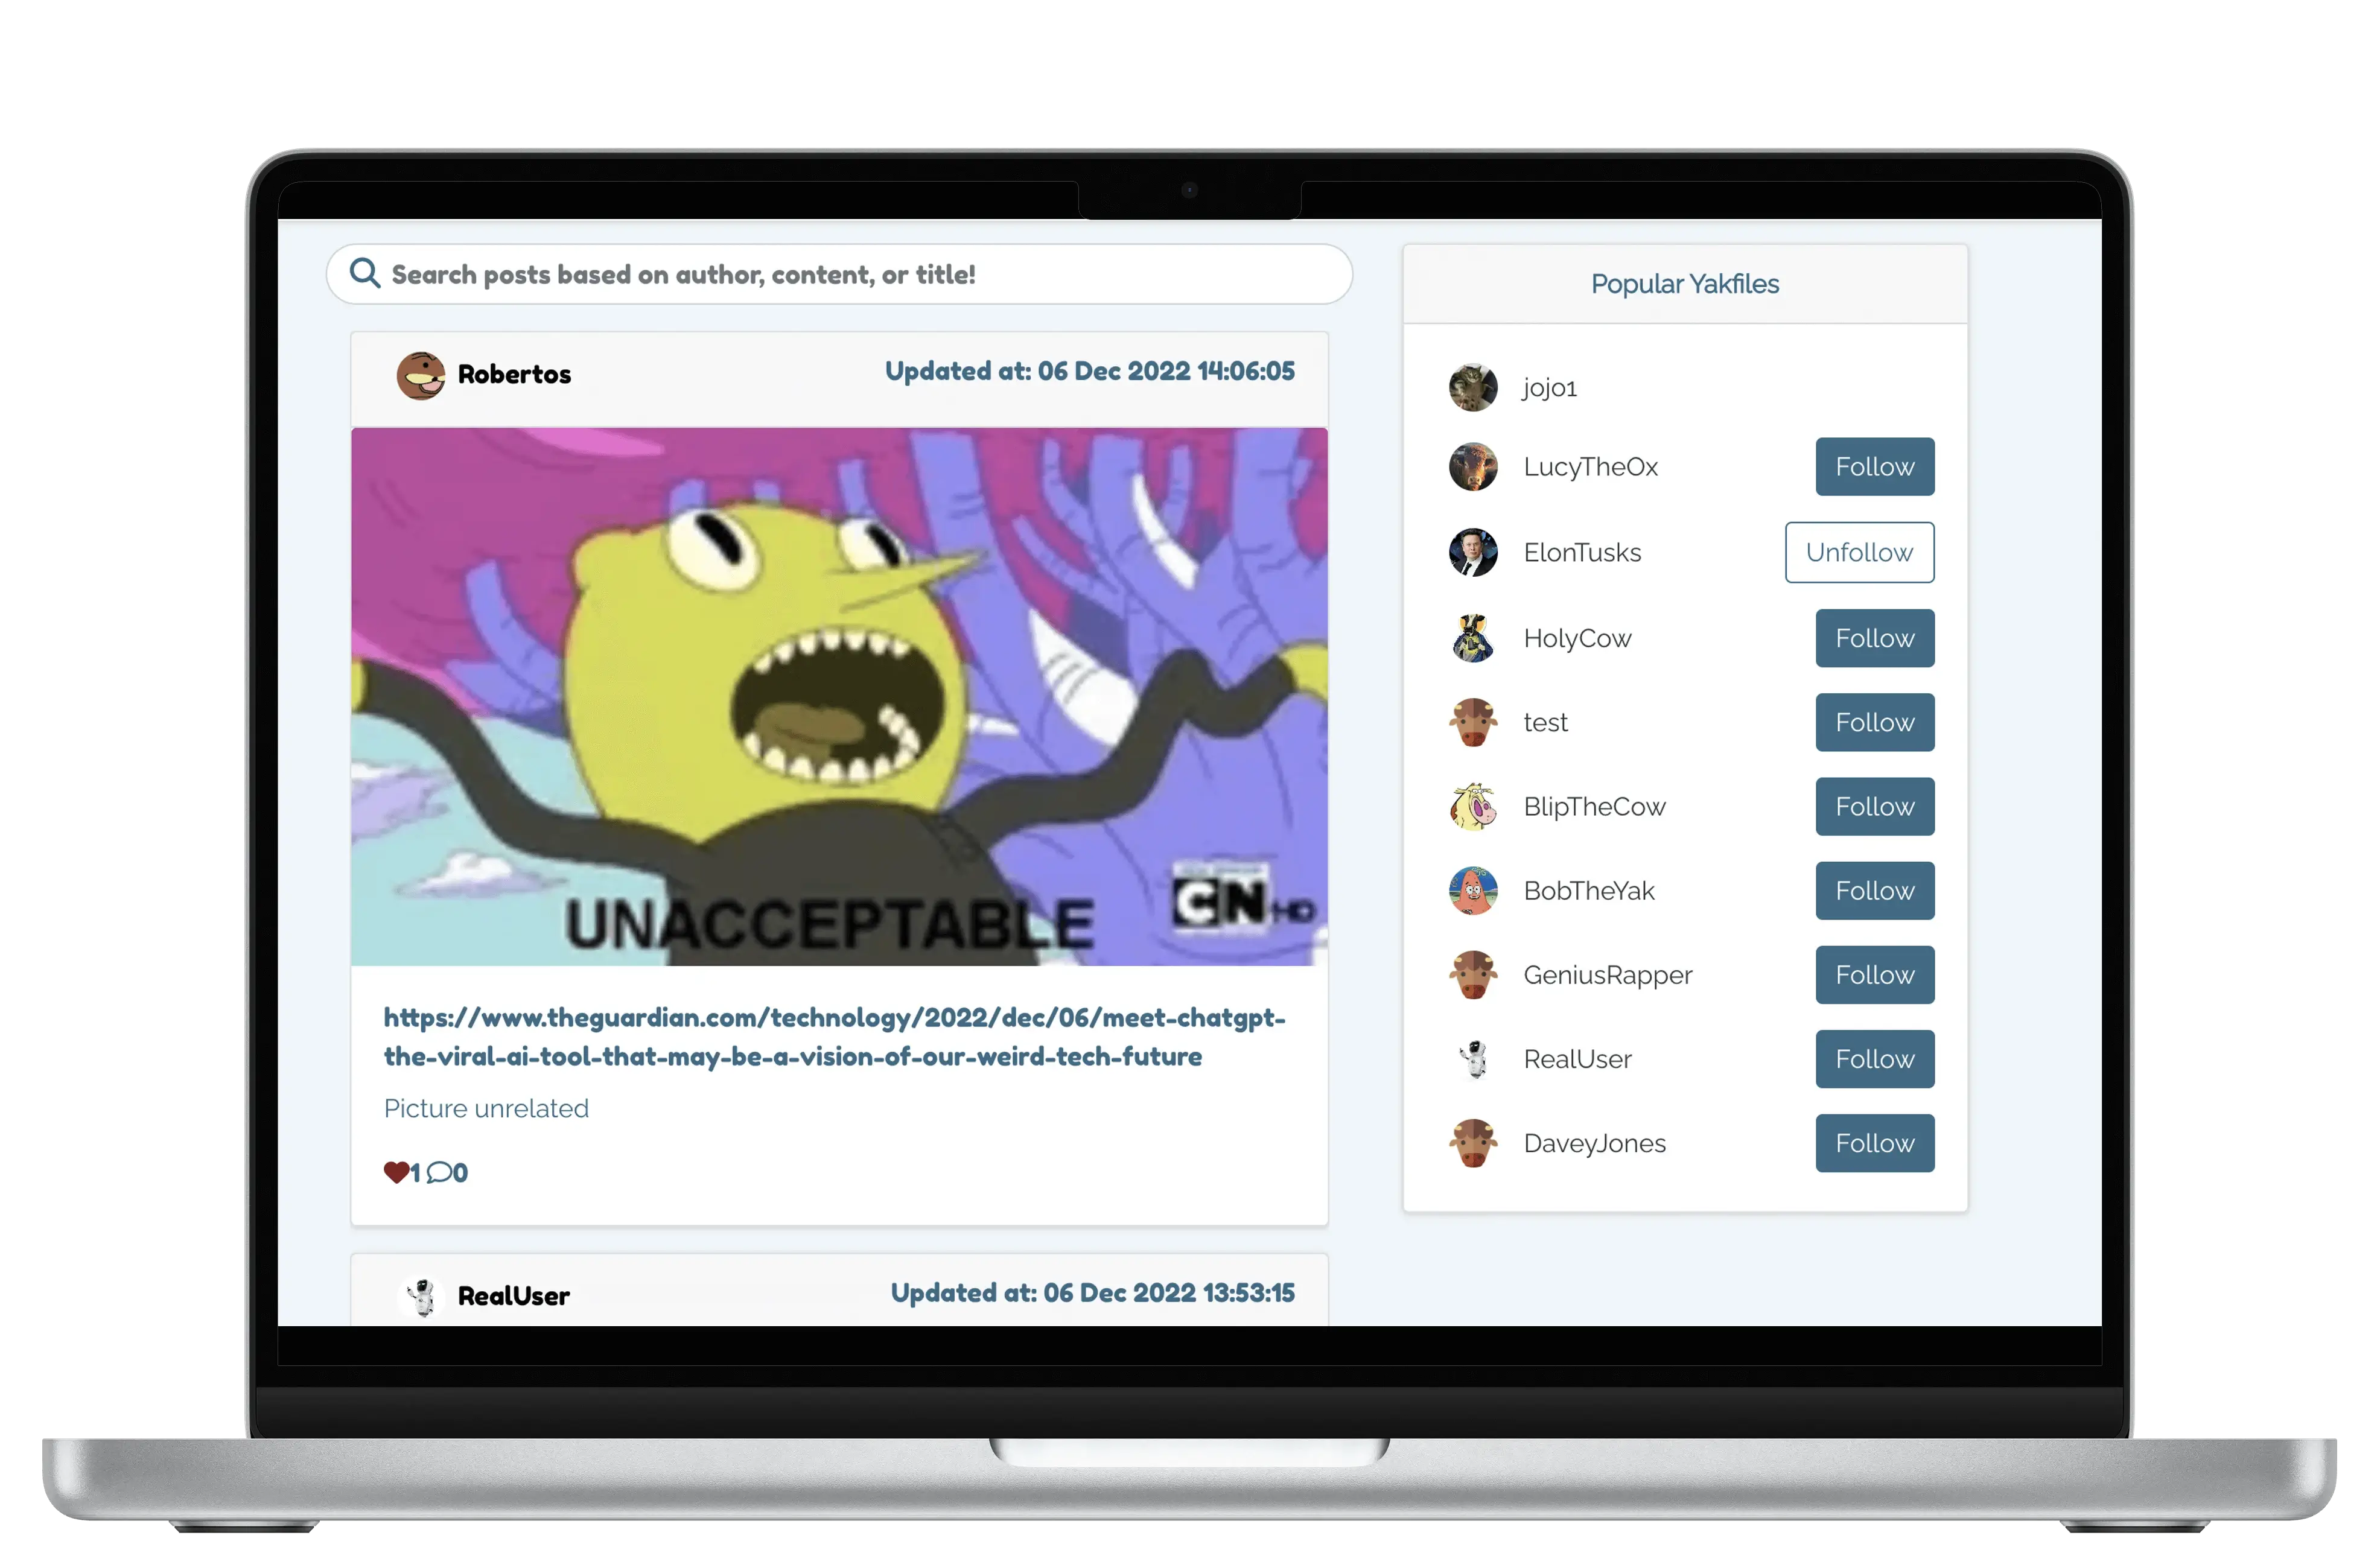
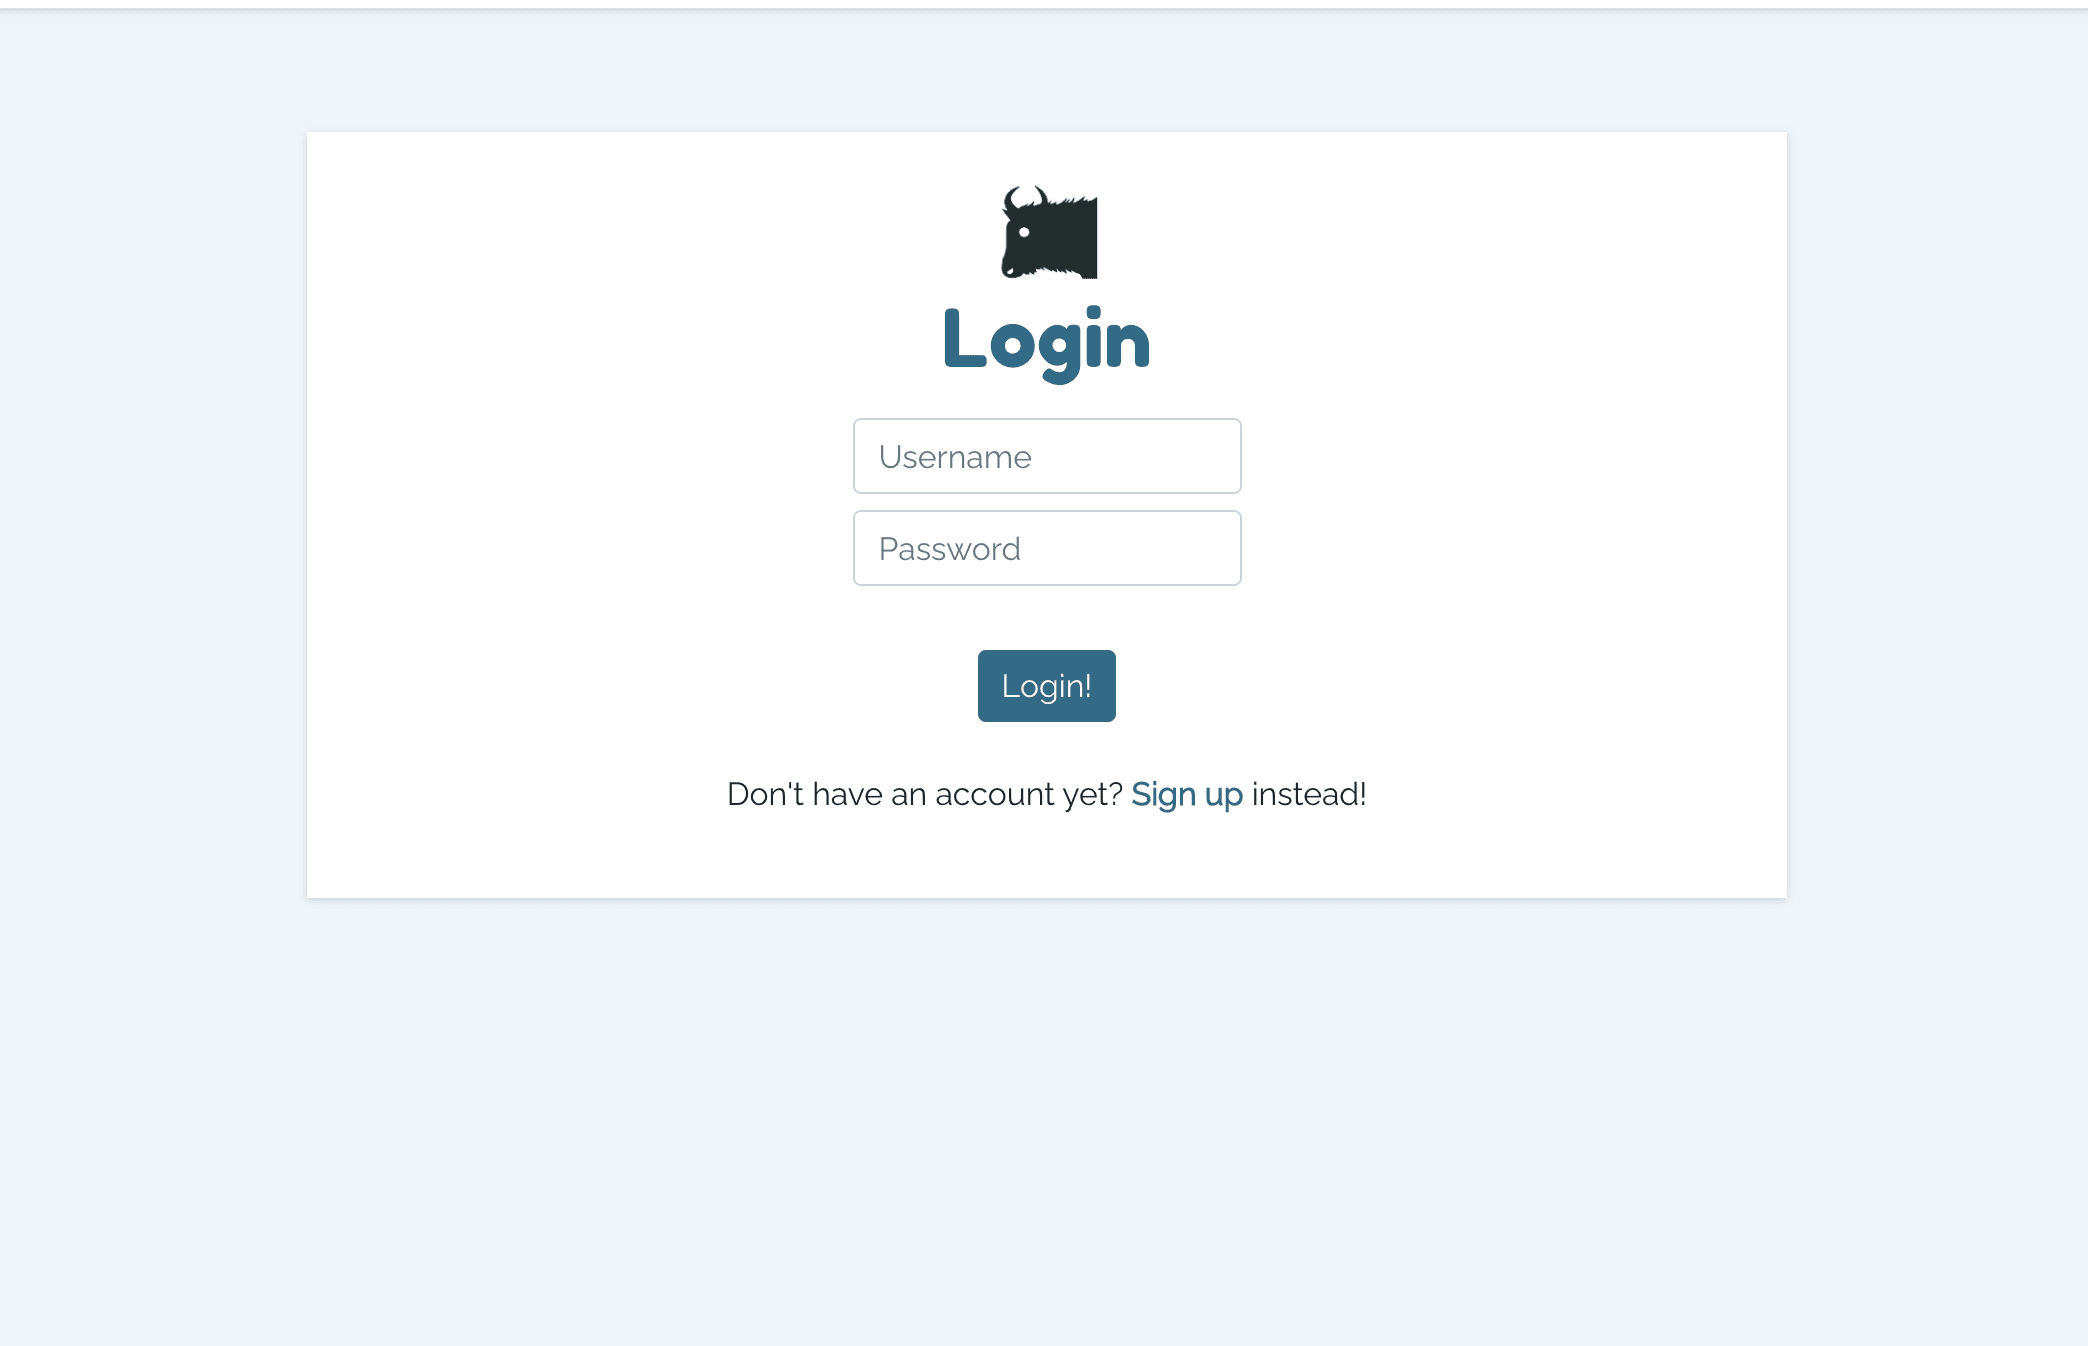
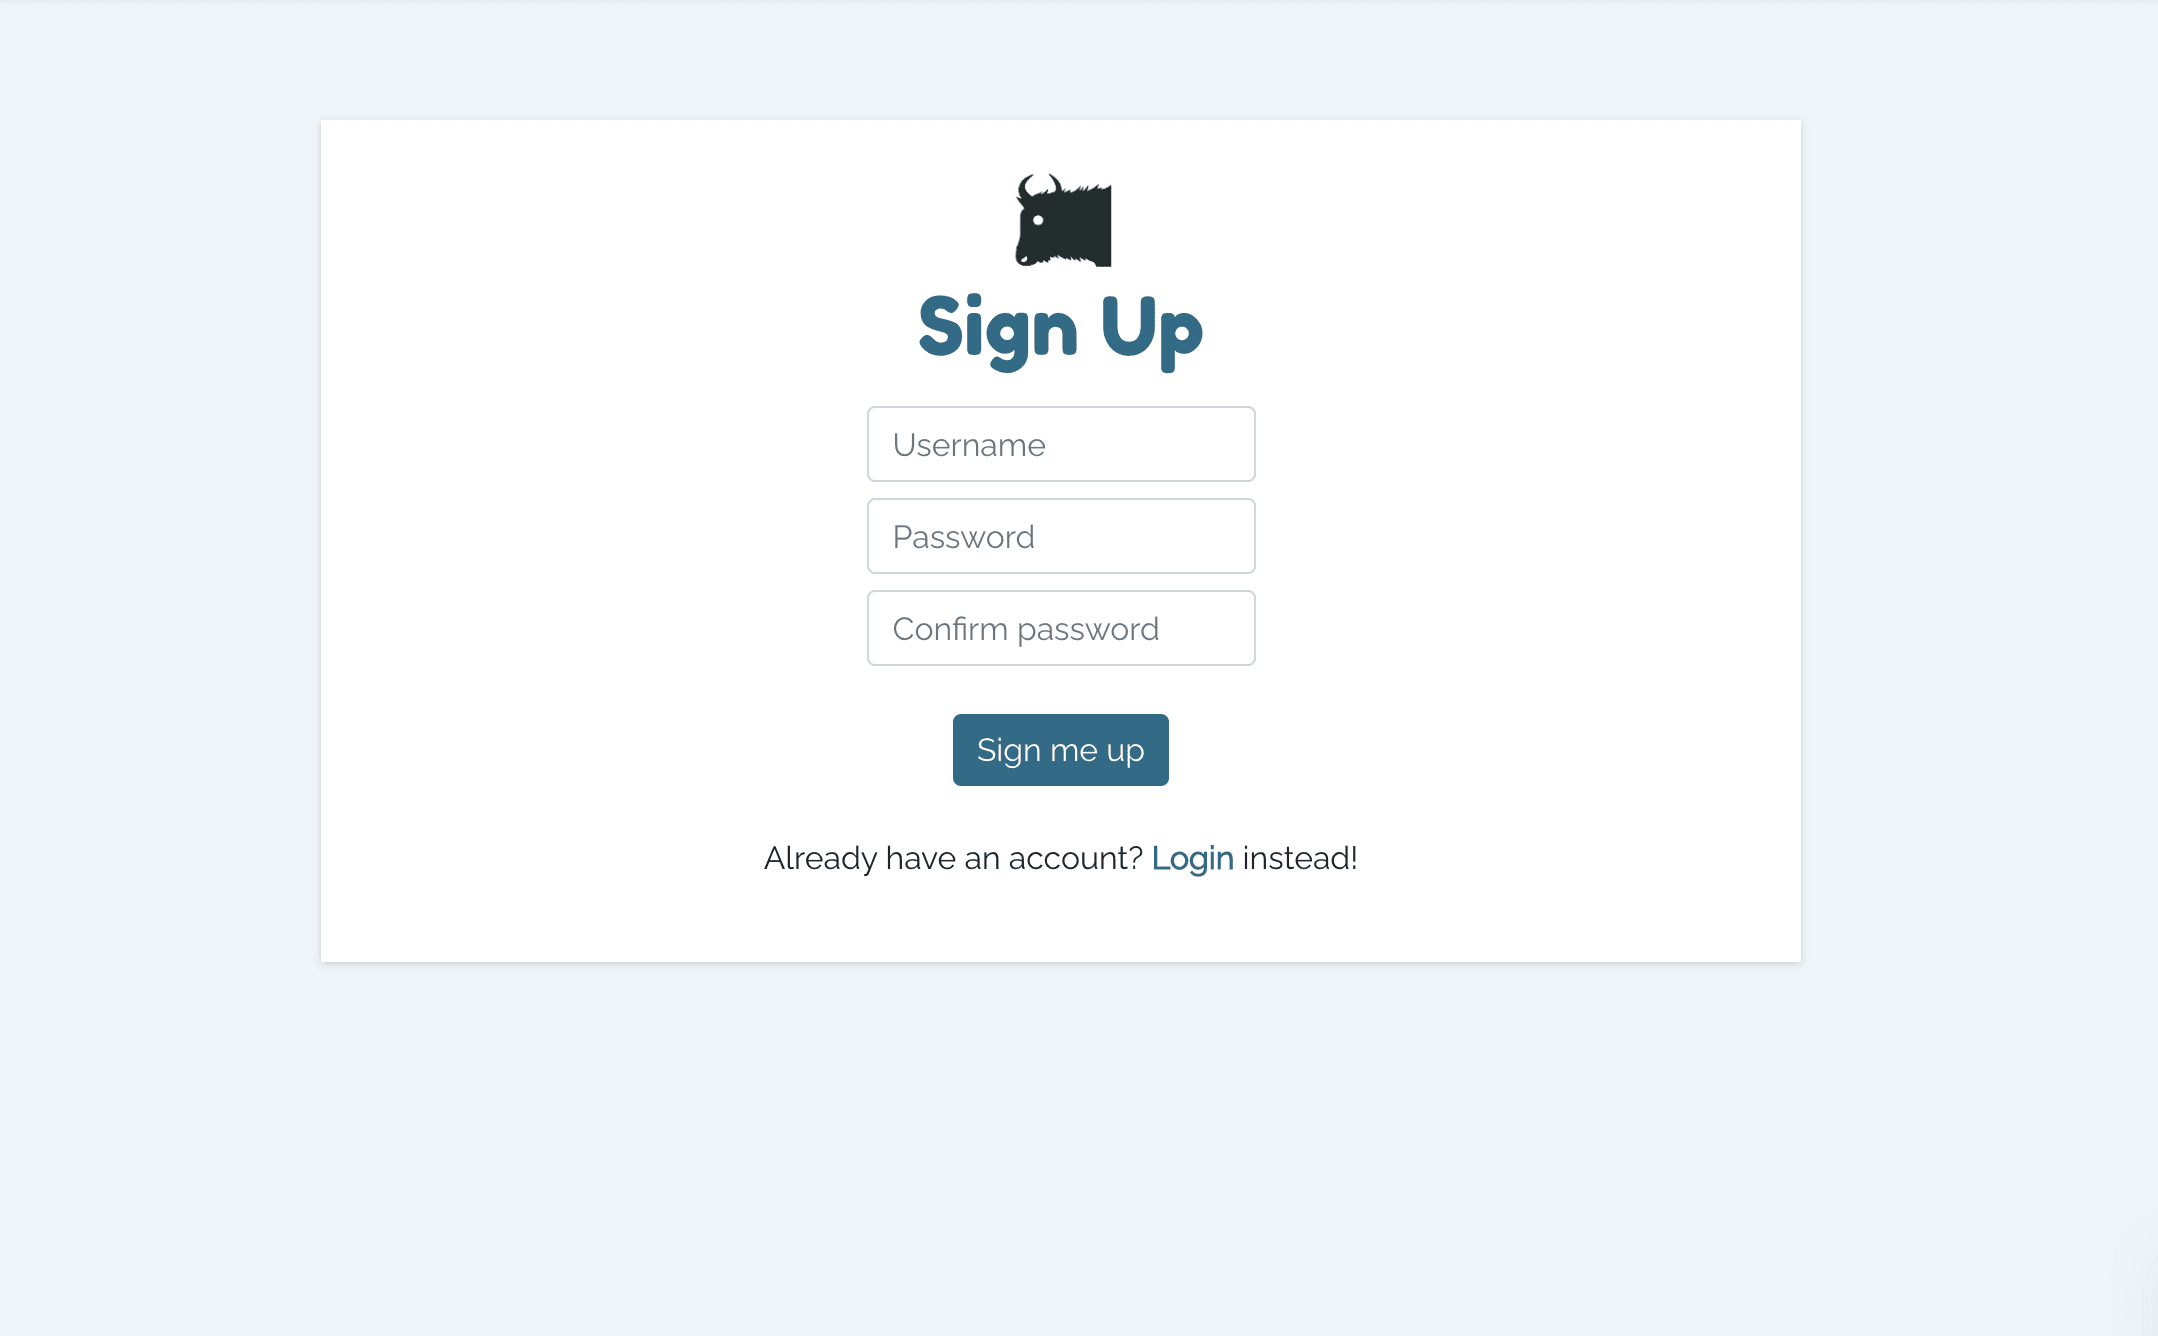
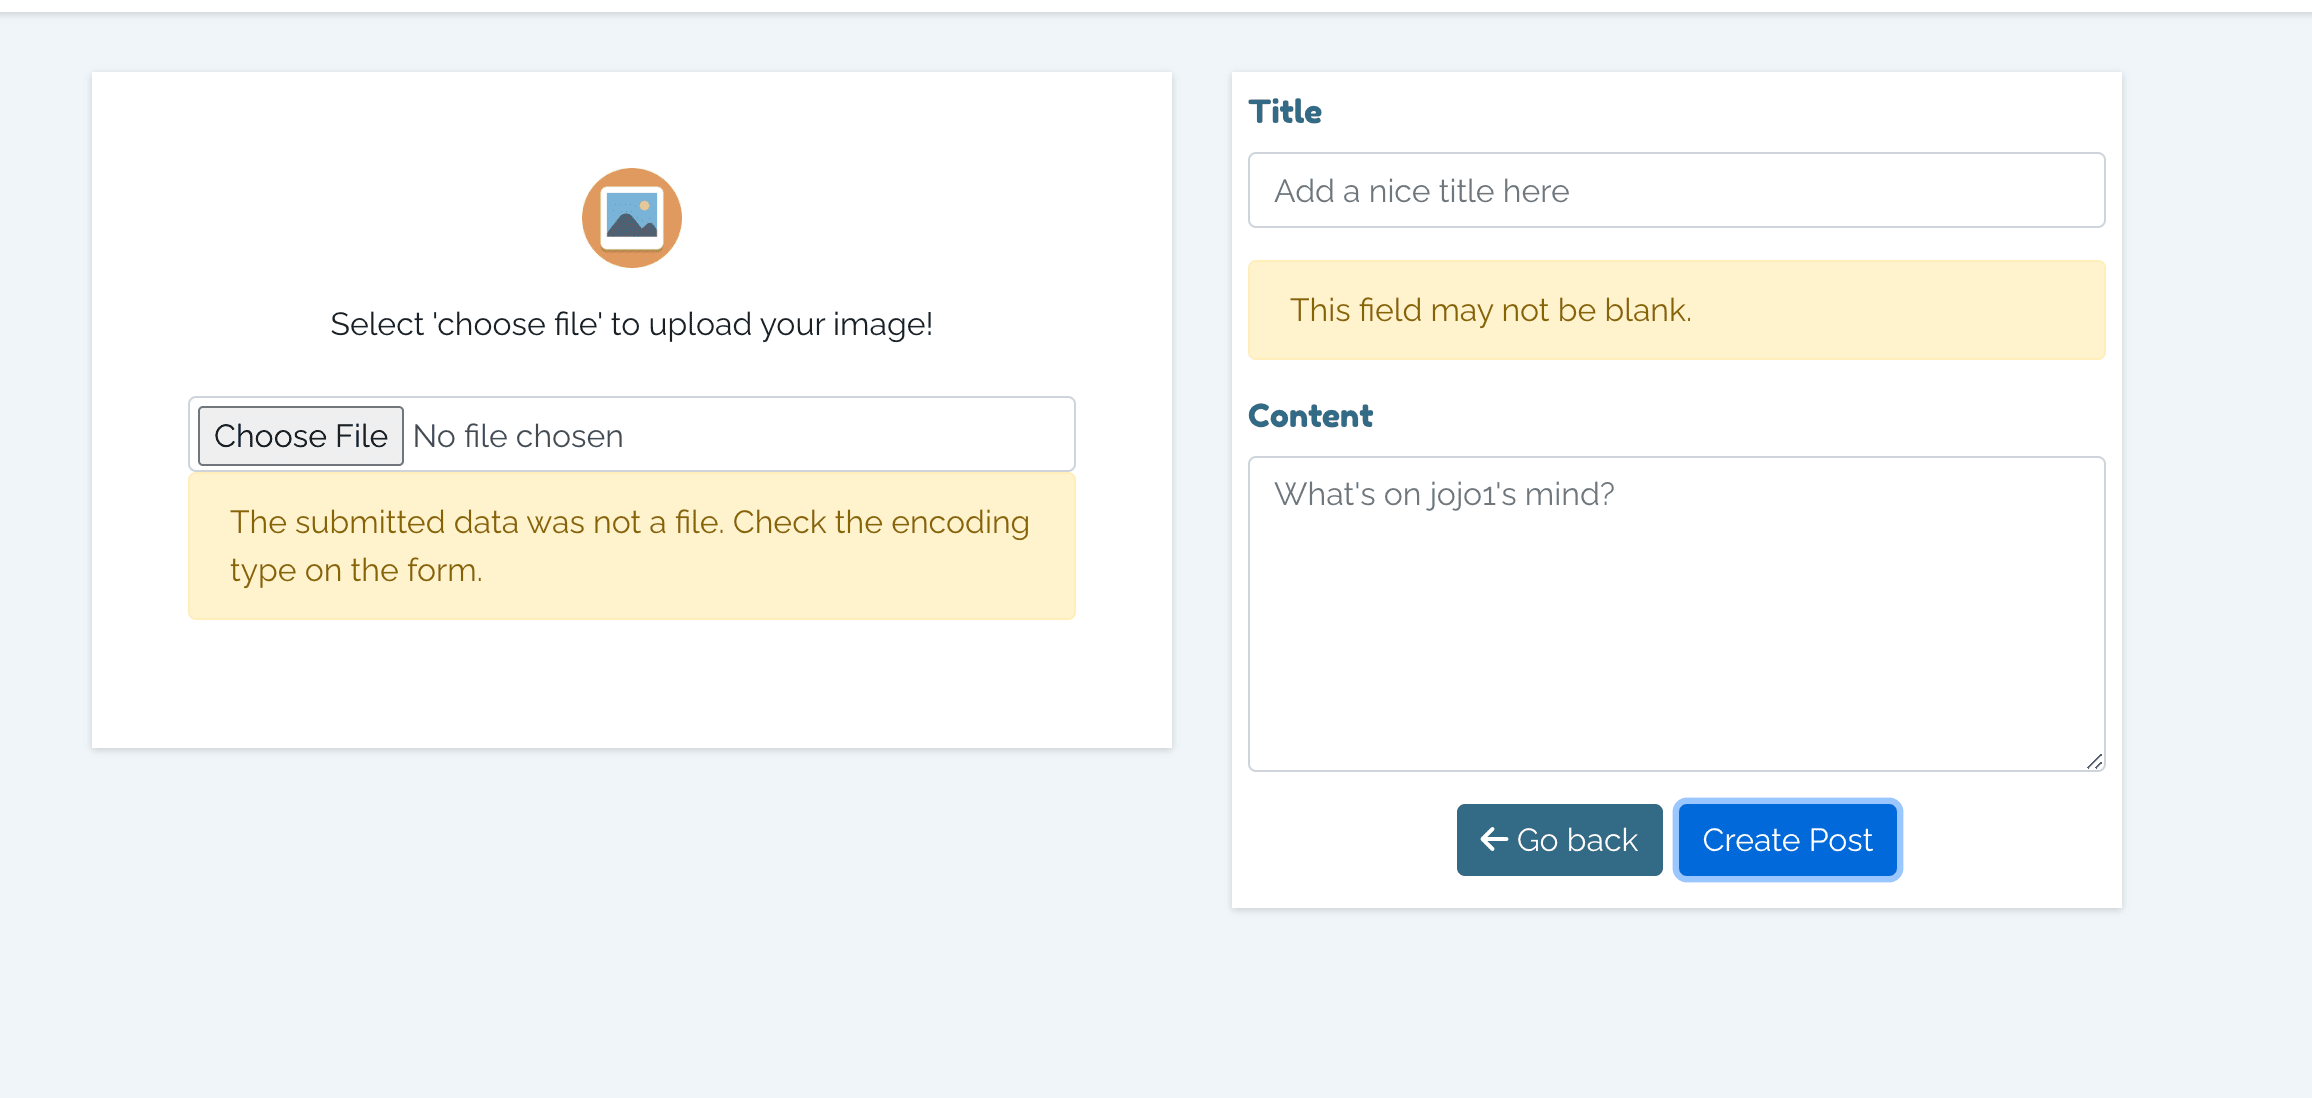
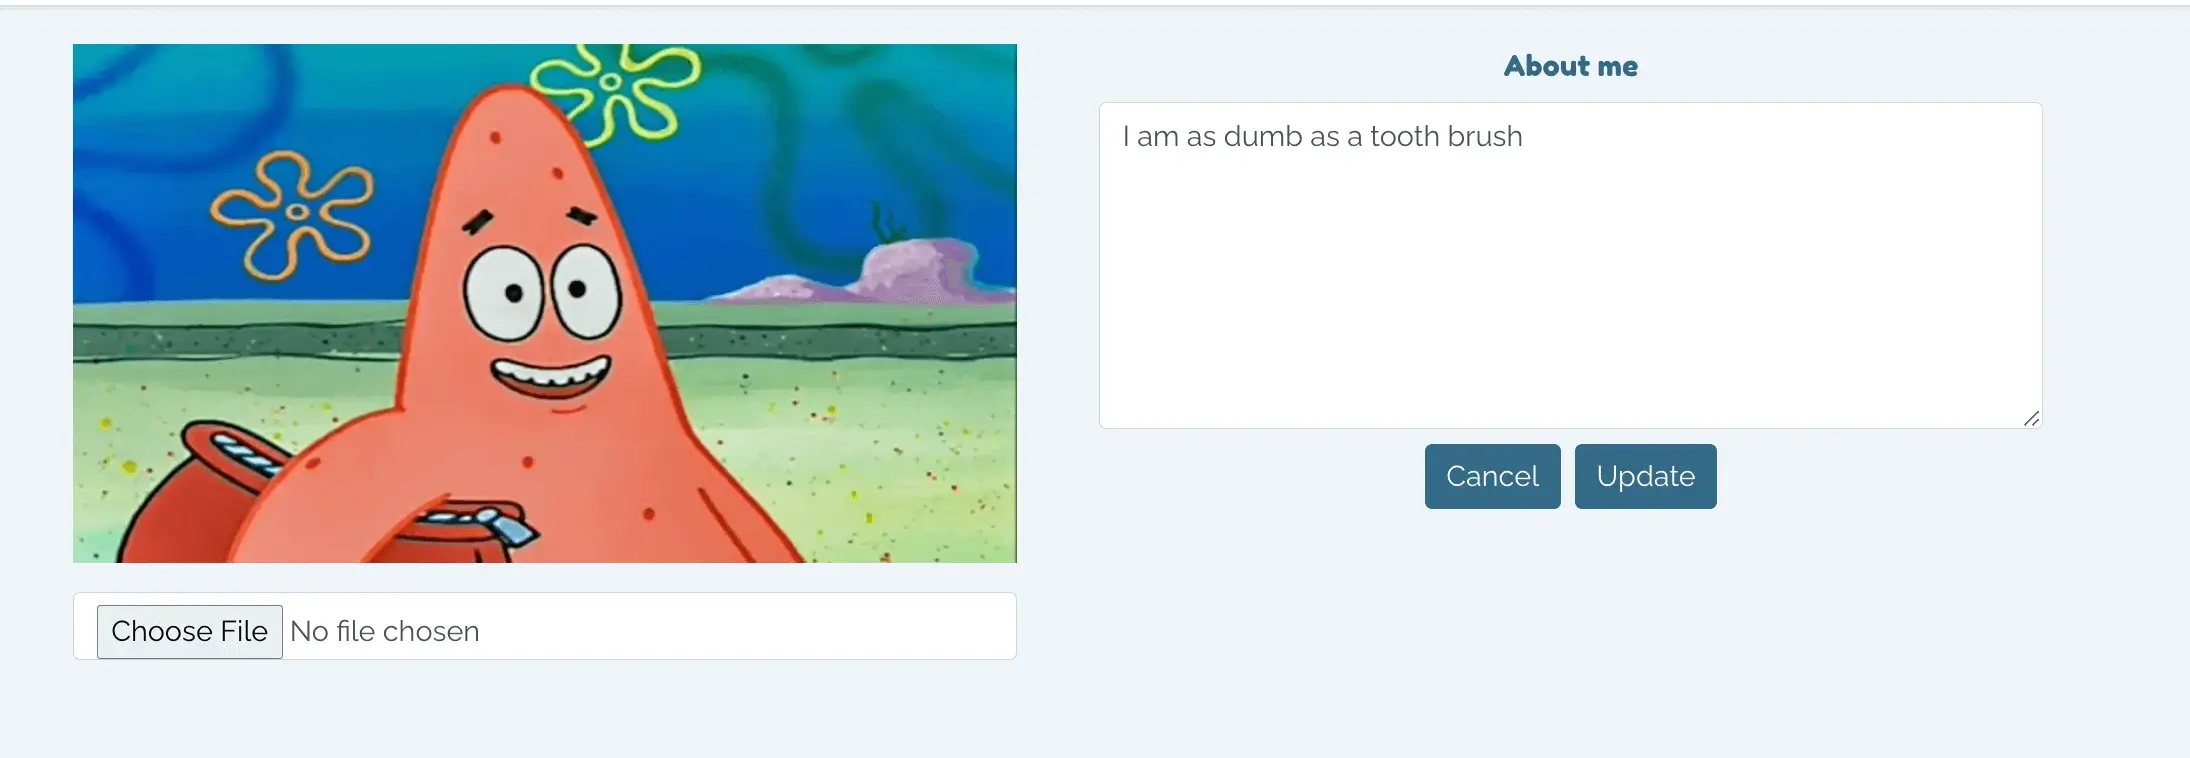
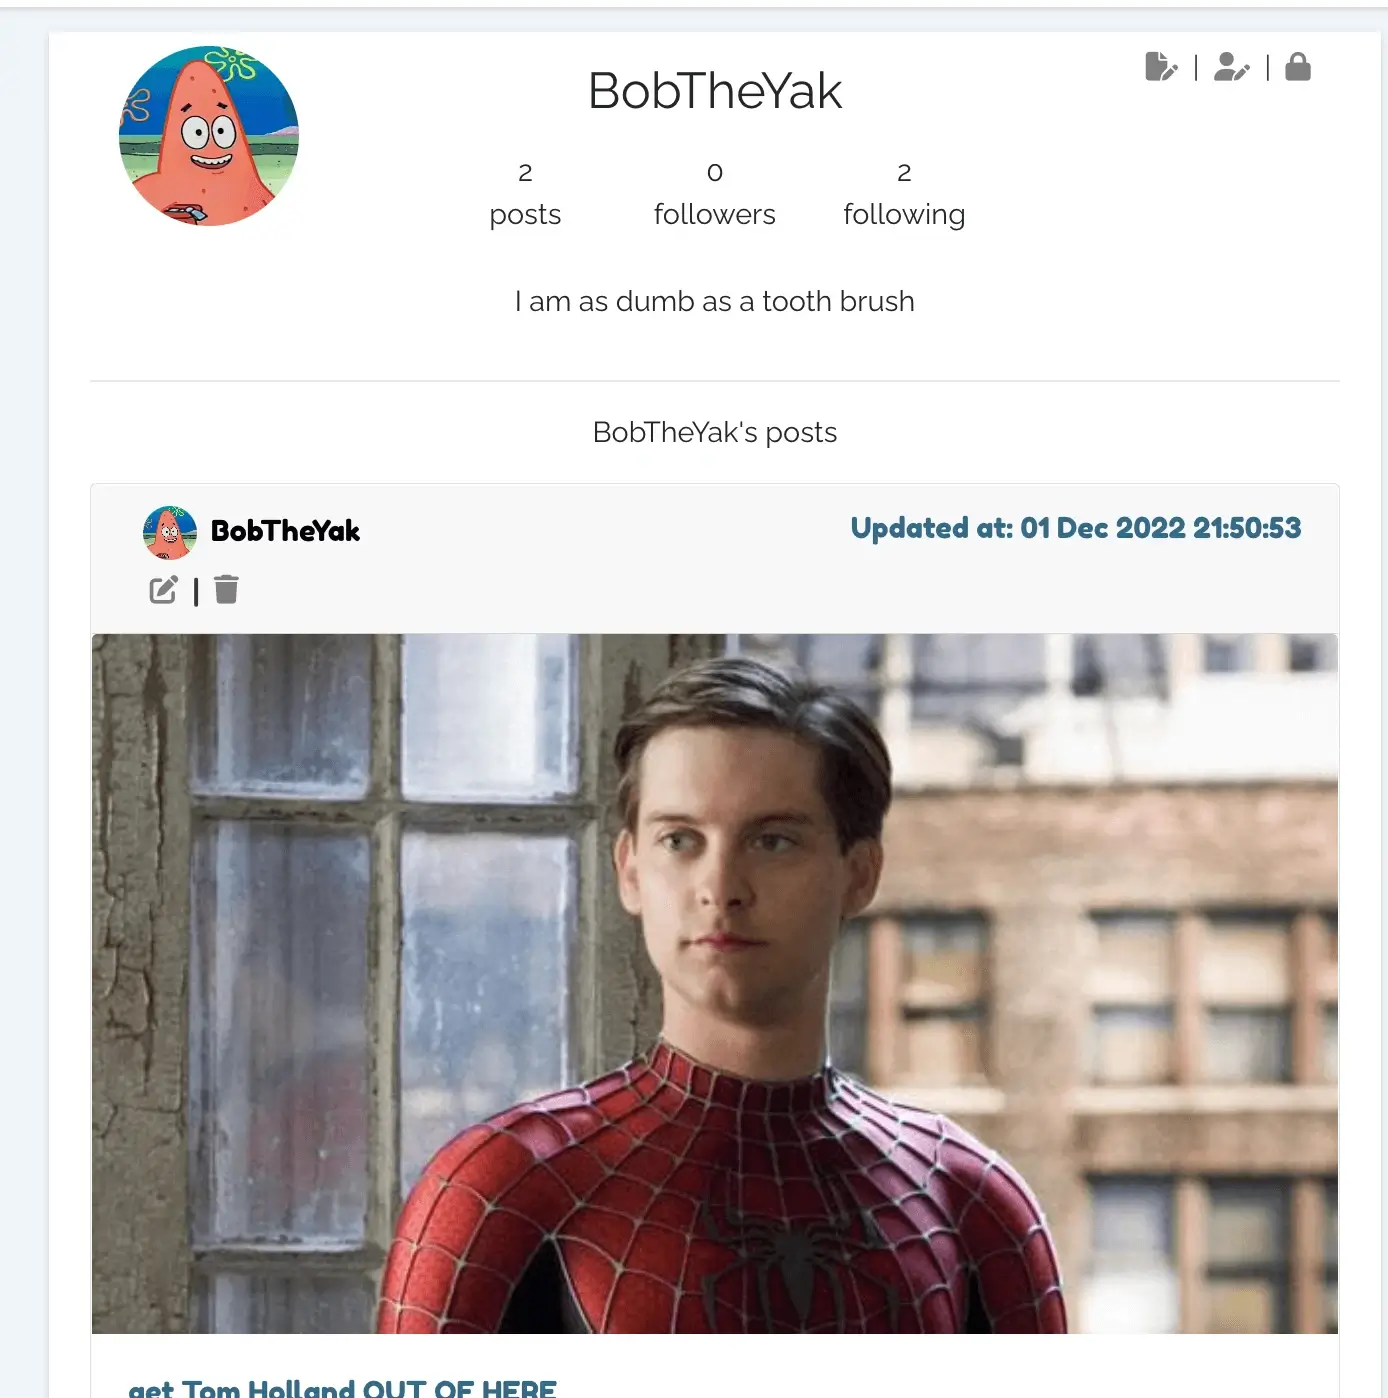
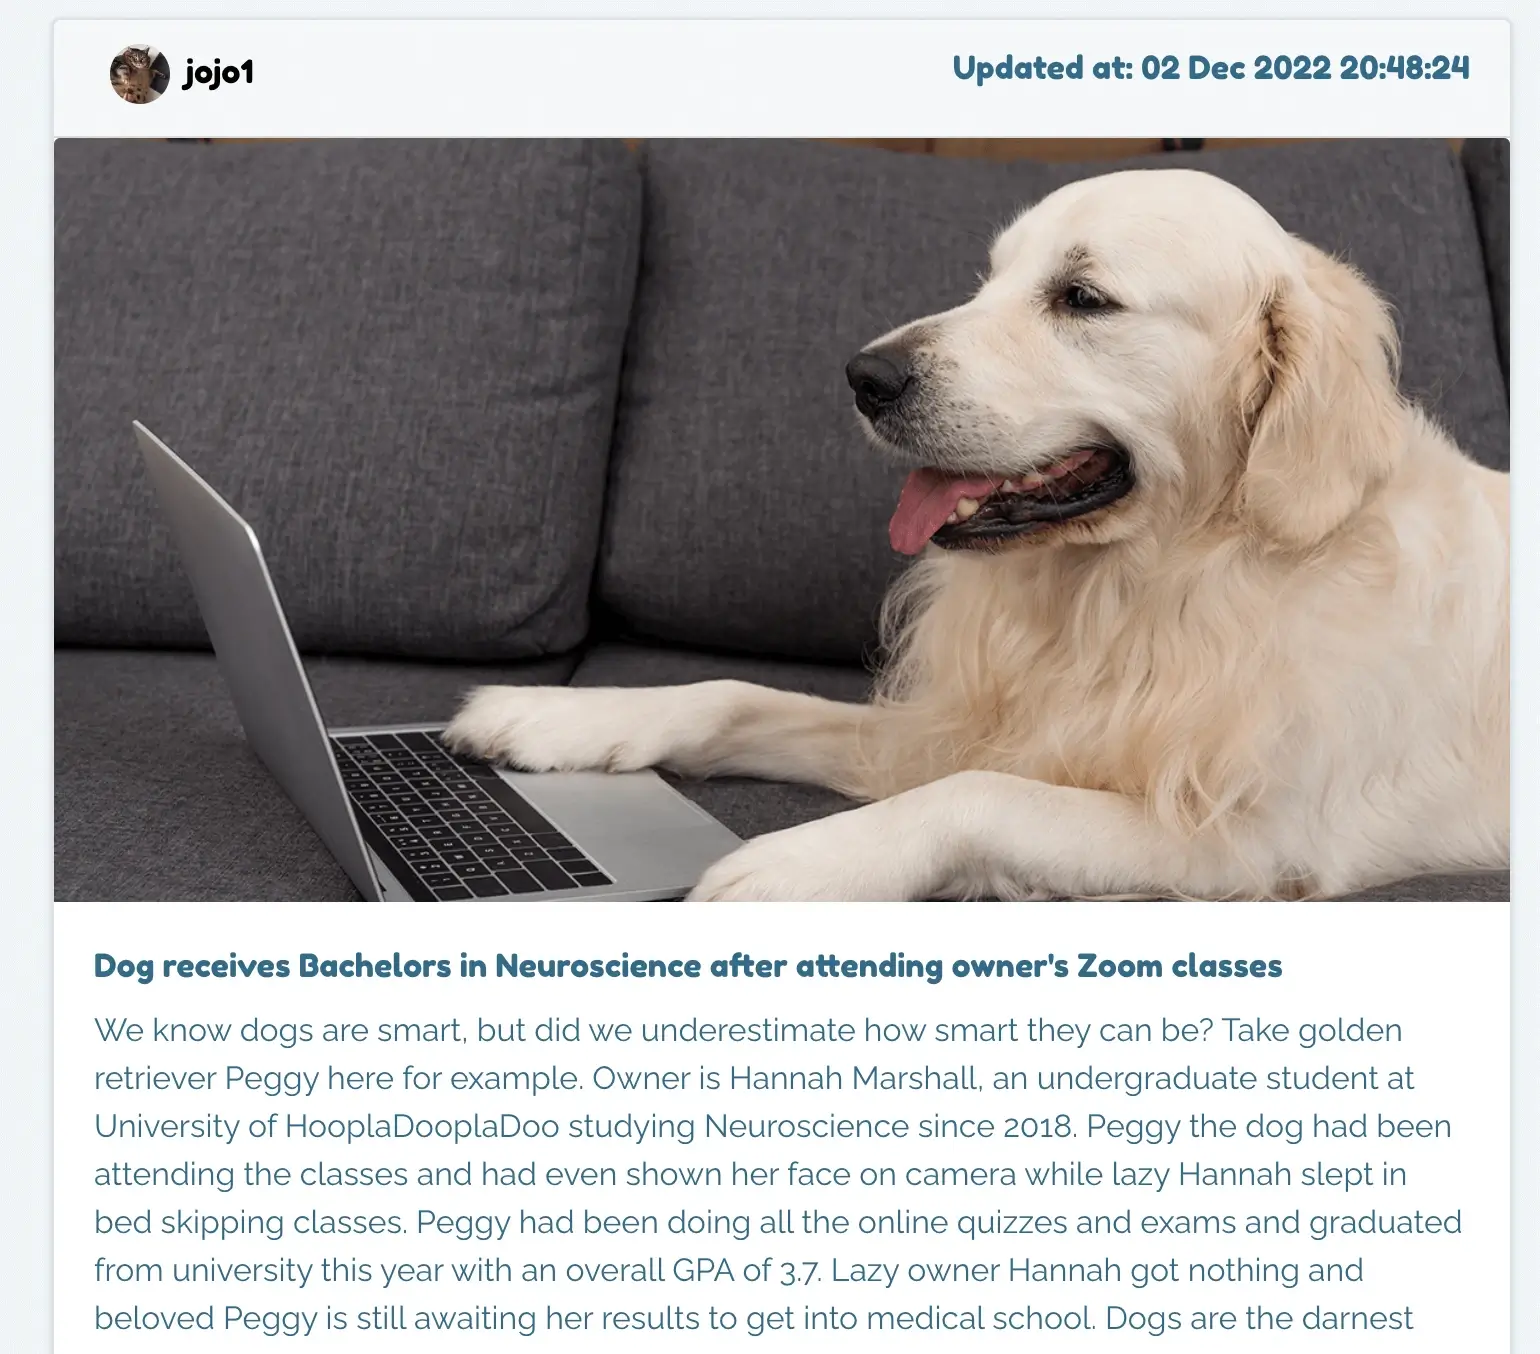
Although the live deployment has since expired, I documented key screenshots of the final product to showcase Yakker’s core interface, including responsive layouts and essential features like posting, following, and viewing profiles. The final build stayed true to the platform’s original vision: a clean, anonymous social experience designed to reduce pressure and prioritize authentic expression. Thoughtful UI choices such as soft tones, intuitive navigation, and minimal distractions helped create a space that felt both modern and approachable. As both the designer and developer, I brought this concept to life from the ground up, translating my wireframes directly into functional code. The process deepened my skills in front-end architecture, API integration, and human-centred design.

Working on this project was a genuinely enjoyable experience. I appreciated the opportunity to take ownership of both the design and development process, which allowed me to fully immerse myself in building the product end-to-end. However, working solo also highlighted how valuable it would be to collaborate within a larger team environment. Having dedicated designers and developers to brainstorm with, exchange ideas, and iterate collectively would bring fresh perspectives and help push the project even further. I am especially eager to work in a more Agile setup, where cross-functional collaboration and continuous feedback drive the process.
On the design side, I see great value in investing more time into creating high-fidelity wireframes and prototypes before diving deep into development. This would help double-check that all user needs are met early on, reducing the risk of costly changes later and ensuring a smoother development workflow. Overall, this project has strengthened my passion for building meaningful products, and I look forward to contributing in team-based environments where I can learn from others and help deliver even better solutions.